Brick-LightSensor
LIGHT SENSOR BRICK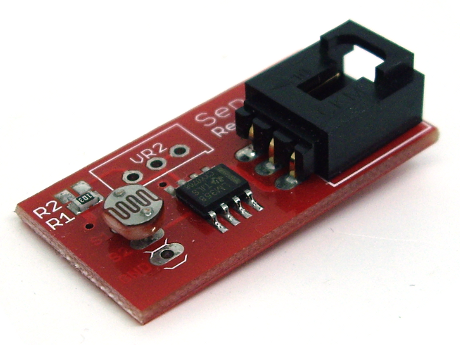

NOTE: The new 2012 version Light Sensor is different and this example does NOT work. It will be updated..
(We also have a dual-Mode Light Sensor: Details soon!)
Based on a LDR (Light Dependent Resistor), this Light Sensor Module uses an Operational Amplifier (LM324) to measure the ambient light intensity and sends the resulting voltage to Arduino through an Arduino Analog Input.
The received values vary from 0 in real darkness to almost 1000 in bright light.
This sensor connects with the usual 3-wire cable to a Analog Input (Usually plugged into a http://arduino-info.wikispaces.com http://arduinoinfo.mywikis.net/wikiSensorShield Sensor Shield]).
Below is example code to read data from the light sensor. (Copy and Paste this into a blank Arduino IDE window, Verify and then Upload.) Click on the Serial Monitor (Rightmost Button) to see light intensity values ( range 0..1023).
/* YourDuino Electronic Brick Test
   Light Sensor
   terry@yourduino.com */

/*-----( Declare Constants and Pin numbers )-----*/
#define SENSOR_PIN  A0

/*-----( Declare Variables )-----*/
int  LightValue; // The value from the sensor (0..1023)

void setup()   /*----( SETUP: RUNS ONCE )----*/
{
pinMode(SENSOR_PIN, INPUT);  // Not really necessary: here for example
Serial.begin(9600);          // Enable the Serial data output
Serial.println("YourDuino Light Sensor Test 1.00 ");
}/*--(end setup )---*/


void loop()   /*----( LOOP: RUNS CONSTANTLY )----*/
{
LightValue = analogRead(SENSOR_PIN);  //Read the voltage from sensor
Serial.println(LightValue,DEC);      // Send result to Serial Monitor
delay(500);                          // Wait 1/2 second
}/* --(end main loop )-- */

/* ( THE END ) */