MIXLY-UltraSonicDistance
UltraSonic Distance Measurement

Small low-cost ultrasonic distance measurement modules like this: HC-SR04 are an effective way to sense the presence of nearby objects and the distance to them. Often Robots use these to sense objects or collisions and take appropriate action.
Here's how these modules work: They have two transducers, basically a speaker and a microphone. Ultrasound is a high frequency sound (typically 40 KHz is used). A short burst of sound waves (often only 8 cycles) is sent out the "Transmit" transducer (left, above). Then the "Receive" transducer listens for an echo. So, the principle of ultrasonic distance measurement is the same as with Radio-based radar.
Distance is calculated as: L = C × T/2 , where L is the length, C is the speed of sound in air, T is the time difference from the transmission from the transmitter to the receiver. This is divided by 2 for the two-directions the sound travels. Speed of sound is about: C = 344m / s (20 degrees C room temperature). Speed of sound in air velocity is affected by the air density, and for high accuracy the temperature must be taken into account, either within the module electronics (In the SRF-06 module we have) or in the Arduino software.
Understanding the Science Behind the Ultrasonic Distance Sensor
We have a educational page HERE with much more information about Ultrasonics and Echo Location. It includes a link to a slide show suitable for use in the classroom.
Ultrasonic Module Connections

The module in our example has 4 pins:
- Vcc Operating voltage: 5.0V
- Trig the transmit signal pin
- Echo the received echo pin
- Gnd Ground
Now, we will use MIXLY to write Arduino Software to operate the Ultrasonic Sensor:
Using MIXLY to "Design" the Sketch
Mixly is a visual programming tool used to generate code which is then transferred/uploaded to the Arduino. The following steps are taken to program the Arduino using MIXLY in order to measure distance with the ultrasonic sensor:
- Launch the Mixly.exe application and ensure sure your Arduino is connected to the computer.
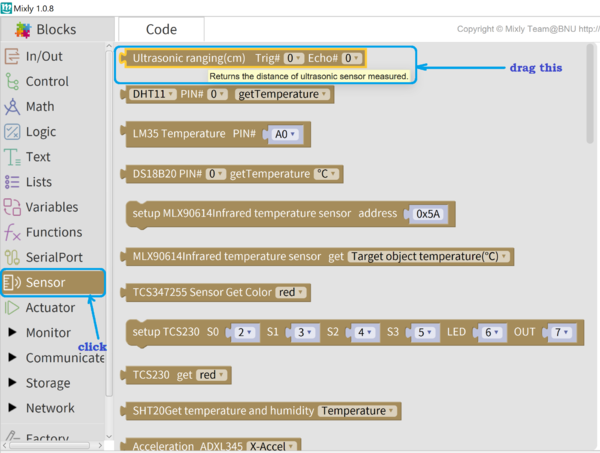
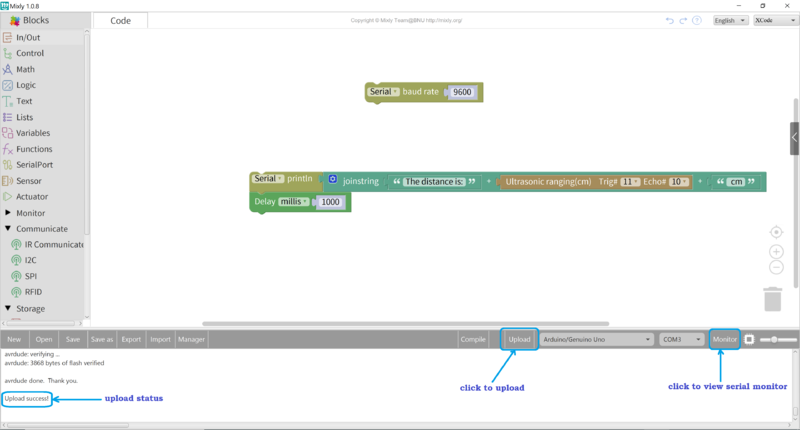
- In the blocks section, click Sensor and drag the ultrasonic sensor block unto the code edit canvas
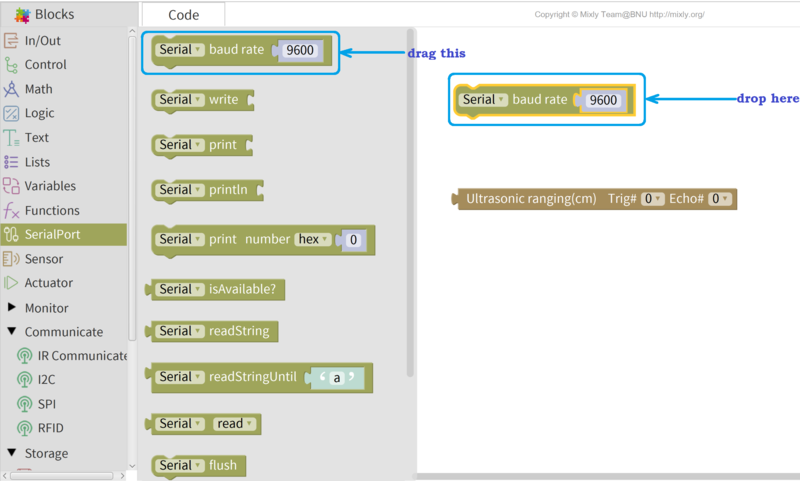
- Add the serial monitor to view the distance. Click on SerialPort and drag the serial baudrate block unto the canvas. This block initializes the serial monitor and sets the baudrate (which is is the speed of serial transmission) to the selected number (e.g. 9600).
- We are going to use a Text block to create a string which we would use to display the distance on the serial monitor. This text "The distance is: ", the ultrasonic distance measure, and cm, all joined together. In programming, the word for joining things together is concatenation. Click on Text and drag the joinstring block to the canvas.
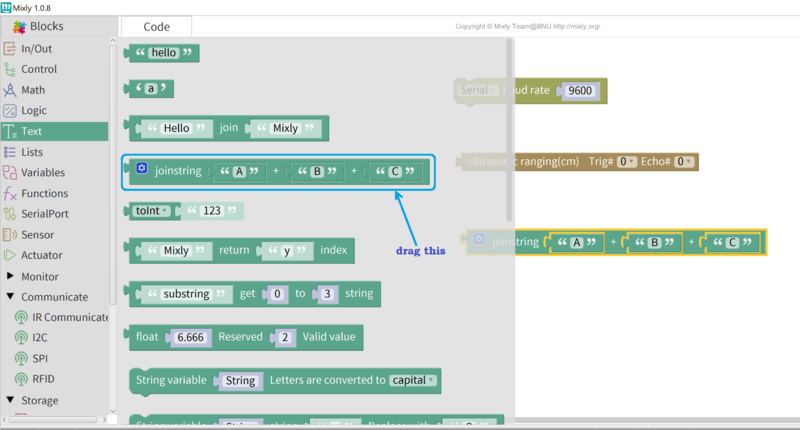
- Next, drag out the middle block out since we're not going to be needing it and replace that with the ultrasonic sensor block. Click on the other two blocks and edit the strings to the desired text as shown in the image:

- Add the Serial println block from the SerialPort section. This block would be used to print our desired string to the serial monitor later.

- Join the Serial println block to the joinstring block.

- Next, we're going to add a delay so that we have some time to observe the values printed out on the serial monitor. From the Control block section, drag the Delay millis block. This causes a delay in milliseconds. 1 millisecond = 0.001 second; 1000 milliseconds = 1 second.
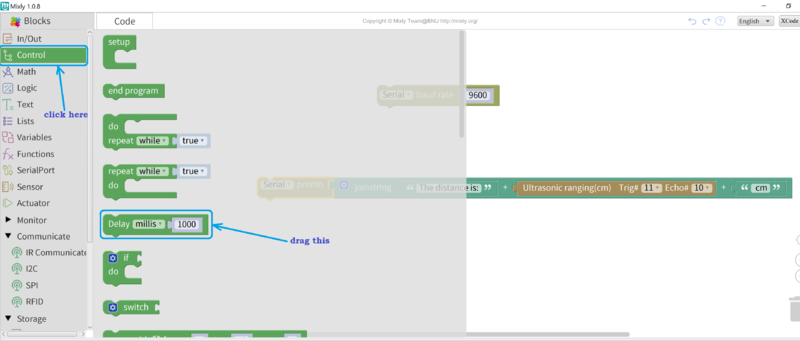
- Join the Delay millis block to the other Serial println block, so that after printing the distance value, the process would delay for about 1 second before printing another value.

- Our code is ready. You need to confirm at this point that the Arduino is connected and the proper board and port are selected. In order to generate the code and upload it to the Arduino, click the Upload button and wait till you see Upload success! in the message prompt at the left hand bottom corner.
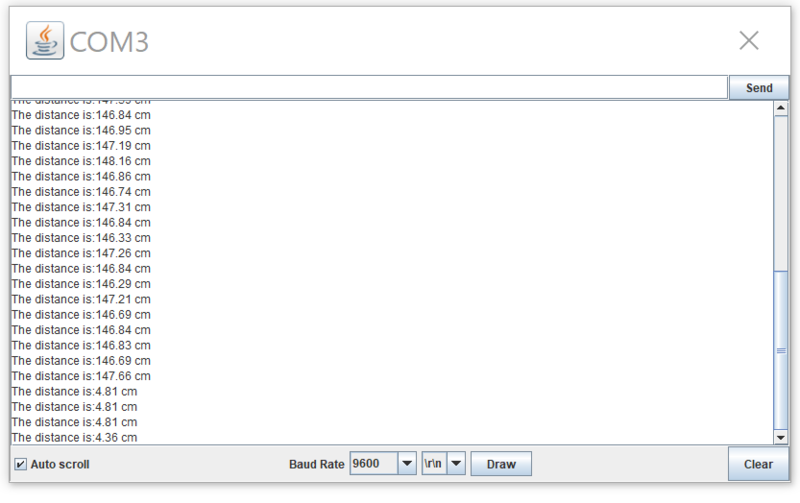
- Finally, click Monitor to reveal the Serial monitor in order to see your displayed information(distance string). The image below shows my own values:


DETECTING OBJECTS WITH ULTRASOUND
Move some flat object like a book in front of the sensor and move it in and out to see the changing distance.
Different objects will reflect a different amount of the Ultrasonic wave, so results will vary a lot. Here are a few examples:
1 ball-point pen, 200mm
2 Hand, 400mm
3.1mm thick plastic sleeve with a wire, 30mm
4. Vernier caliper, 450mm
5. The body (wearing thick clothes), 400mm
6. Wall, 1200mm
7. 1mm thickness soft cotton: undetectable
8. bamboo toothpick, 40mm
9. Stationary Cat ???
Questions or comments welcome
Regards, Terry King
terry@yourduino.com