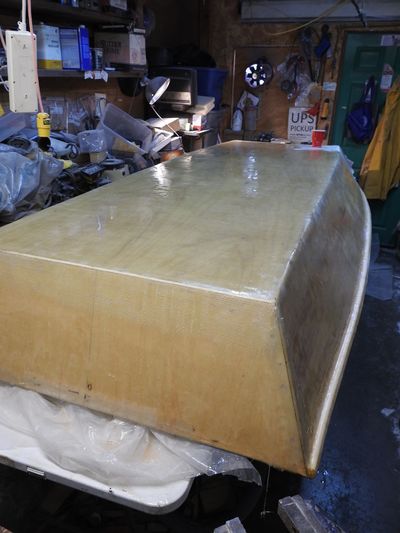
Boat Building Jon Boat
BUILDING A JON BOAT
(See WIKIPEDIA ) A jon boat (or johnboat) is a flat-bottomed boat constructed of aluminum, fiberglass, or wood with one, two, or three bench seats. They are suitable for fishing , hunting and just cruising around. The nearly flat hull of a jon boat tends to ride over the waves rather than cut through them as a V-hull might; this shallow draft – only a few inches – enables the jon boat to operate in very shallow water, but limits its use to calm waters. We plan to use this boat on inland rivers such as the Withlacoochee in northern Florida.
The boat we are building looks somewhat like this (ours is wood, not aluminum): NOTE: Click on any photo for a larger version
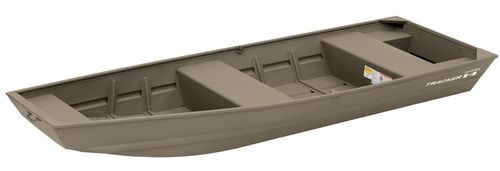
Side view of the boat design (Our is 12 ft long, 36 inches wide):

THE ACTUAL BOAT ON THE WATER
Here's the actual boat on it's first launch day on the Ochlocknee River in northern Florida. Running a Harbor Freight 212cc Motor ($99 with coupon) and a $300 Thai Long Tail drive system. Some sanding and PAINT needed!
This is as slow as it goes at idle.. about 6 MPH. At 1/3 throttle it planes with two people onboard, at approximately 1/2 throttle it planes nicely and more level, edge spray coming from the level of the front seat. More updates when I can edit some stuff..
PARTS OF THE BOAT
The boat is based on plans sold by http://UncleJohns.com for $29.50 You can see a study version of the plans (HERE).
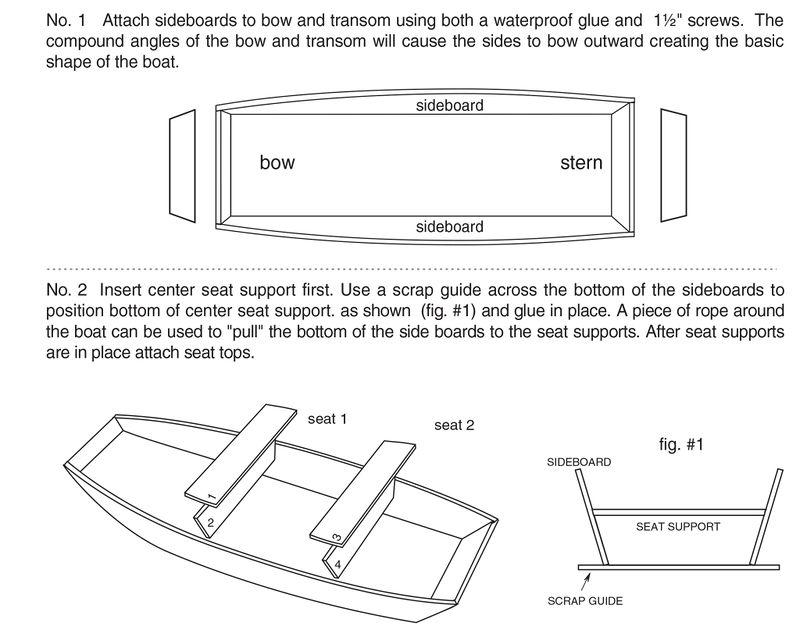
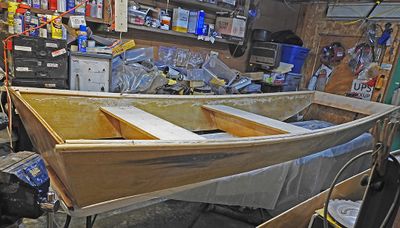
The boat is made of the side panels, Bow Plate and Transom, and importantly the seats and seat 'supports' which define the shape of the boat and add a major part of it's strength.
THEN you add the bottom starting at the bow...
BUILDING THE BOAT
NOTE: You will need to buy the plans to get all the actual dimensions. You will need to scale (multiply them all by a factor) if you are making different overall sizes of the boat.
We will show the materials and tools we used. We will NOTE when we did things differently than the published plans.
CUTTING THE SIDE AND BOTTOM PANELS AND DOING THE BUTT JOINTS
We started with 4x8 foot plywood panels: 3 of 1/4 inch thickness for the sides and bottom, and 1 of 3/4 inch thickness for the bow and stern parts and the seat supports and seats.
NOTE: The plywood we bought was cheap, but not the best for boatbuilding. See following detail section.
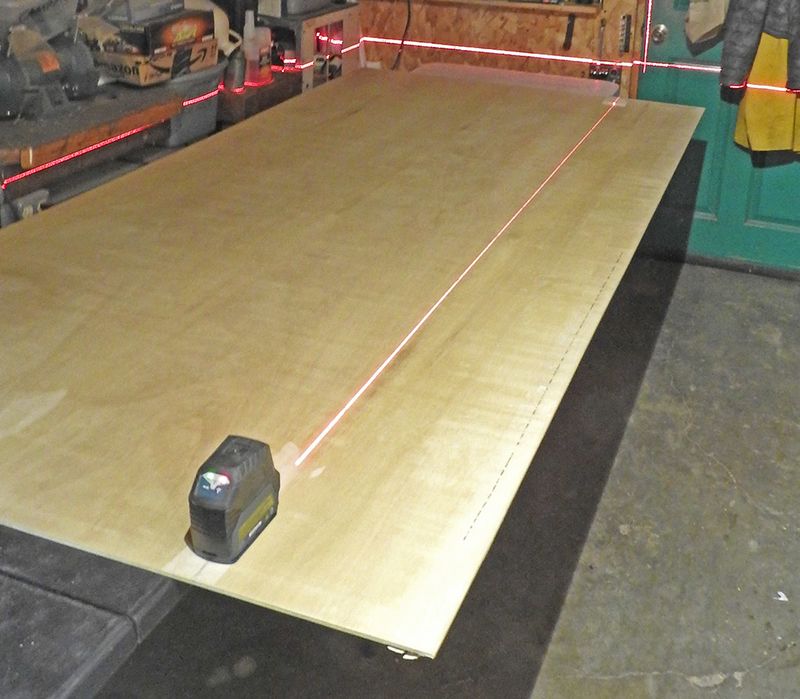
We used two 6 by 3 foot folding plastic tables in our small shop to build the parts and boat on. We cut the bottom width (36 inches in our case) and the side panels first. We used our laser 'level' to assure straight lines. Most would use a straightedge!
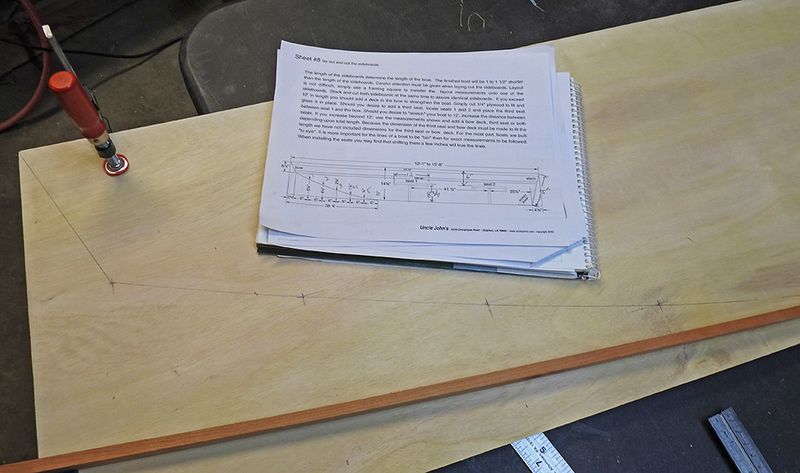
Here we use a bendable "batten" to smoothly connect the dots for the side panel bow section shape:
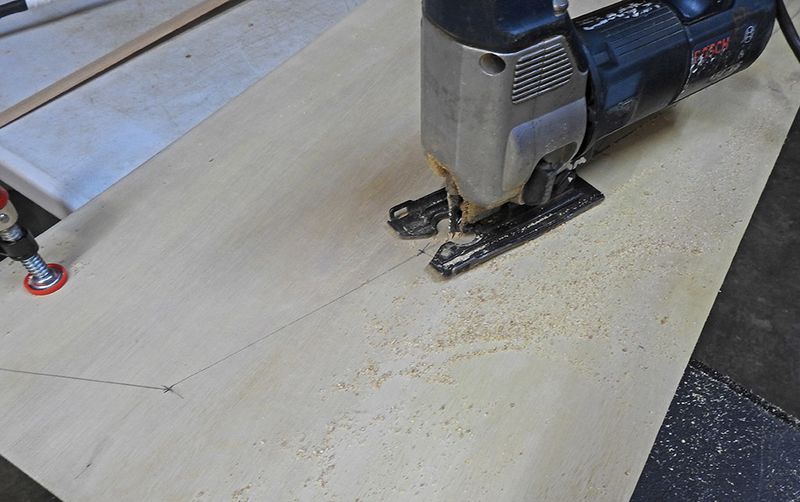
And cut with a sabre saw:
JOINING PANEL SECTIONS
The 8 foot sections of side and bottom panels need to be joined to create 12 foot panels. (We had cut the 4 foot sections also).
We used the famous Dave Carnell Method as shown here. (More details on THIS PAGE)
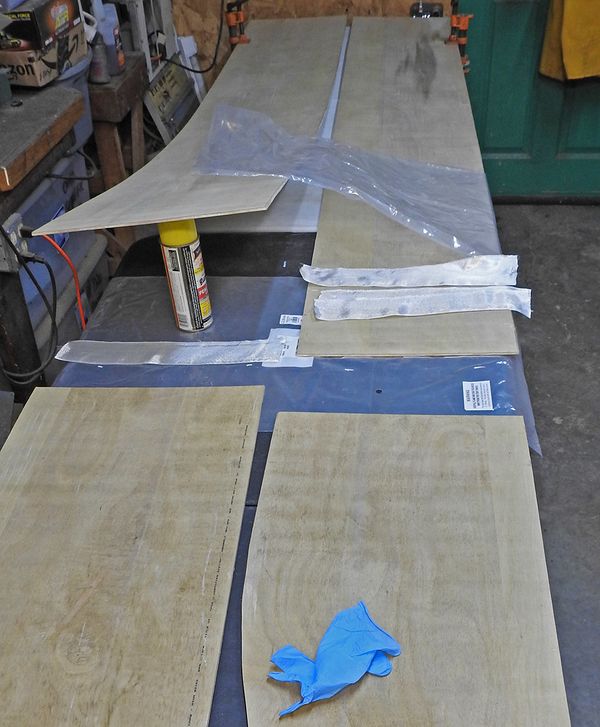
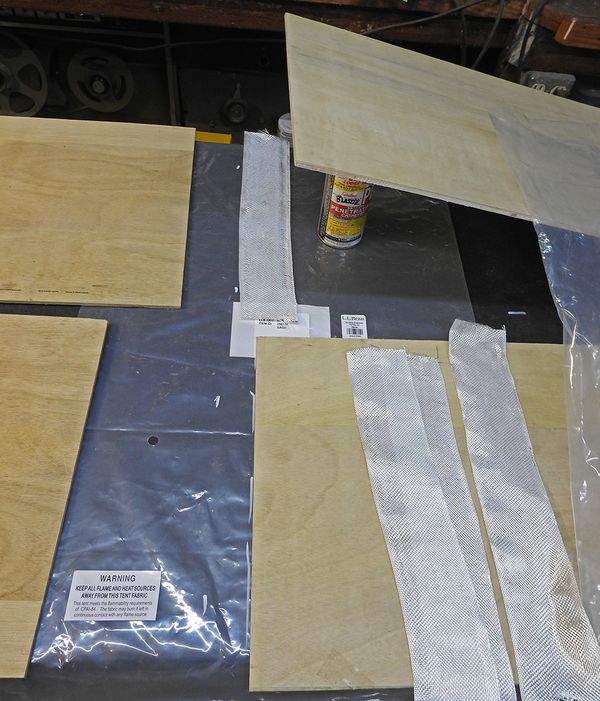
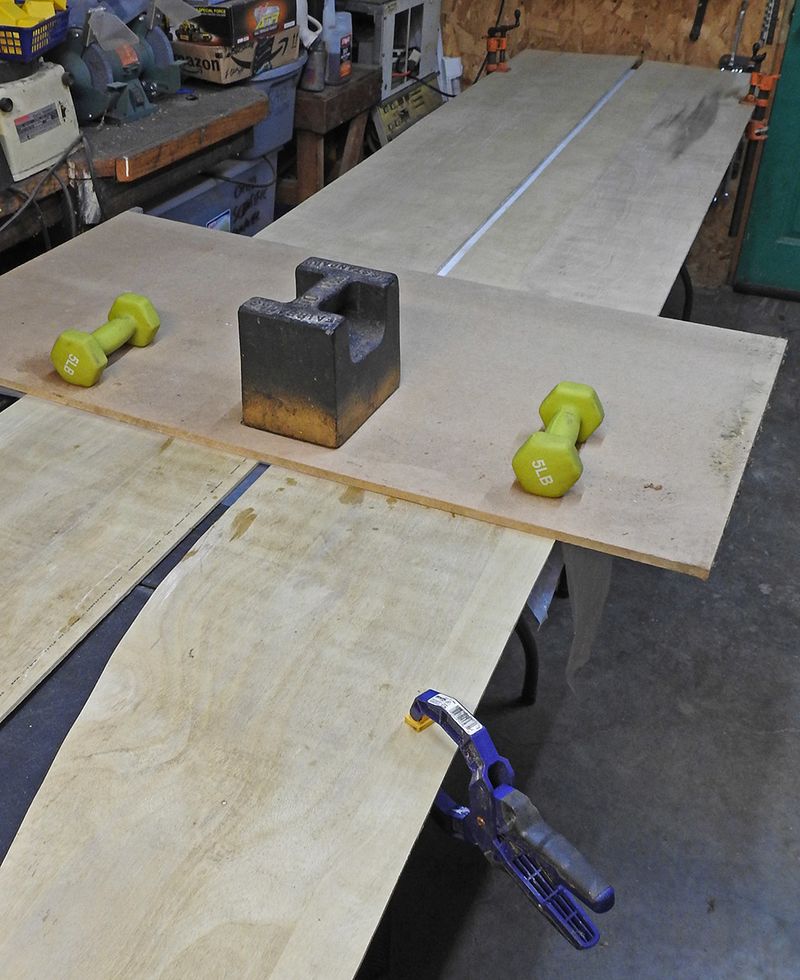
Setting the "LayUp" for the butt joints, and DETAIL of Layup:
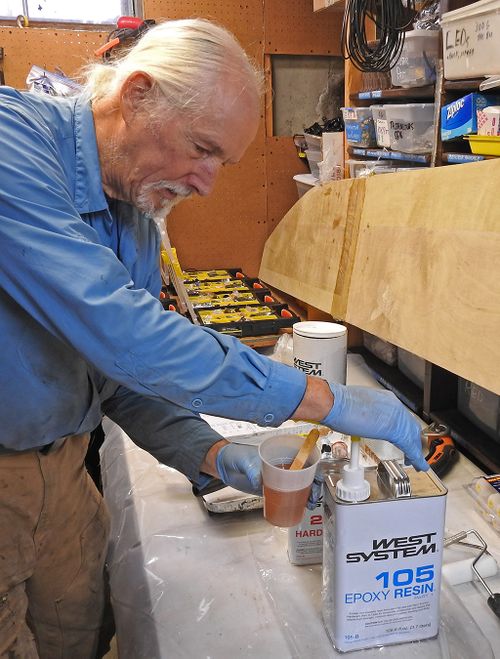
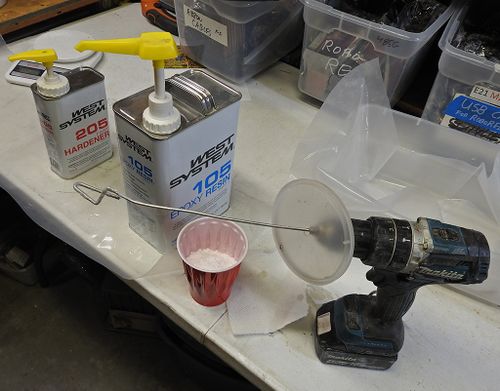
Get some old guy to MIX SOME EPOXY! AND: Mixing Epoxy Putty
DETAIL: We will:
- Cut 2 pieces of 4 inch fibreglass tape to length
- position the pieces and prop up one side
- saturate the bottom layer tape with epoxy, on plastic sheet on table
- reach under right side and paint area that will contact the tape with epoxy
- lower right side on to saturated tape
- raise and paint epoxy on the underside of the left side
- lower left side on the saturated tape
- position panels tightly together and clamp to table
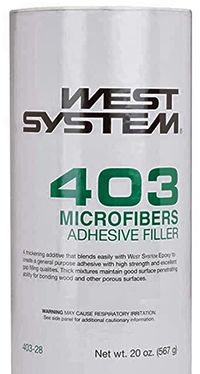
- mix small amount of thickened fiberglass ( we like WEST SYSTEM 403) and apply to joint area, filling any gaps
- paint epoxy on the joint area.
- apply top layer of fiberglass tape and saturate with epoxy
- cover joint area with plastic sheet
- cover joint area with fairly stiff board
- place large weights over joint (concrete blocks or similar)
- wait 8 hours or more, depending on temperature for complete cure
- Remove weights and plastic sheet, inspect your job!
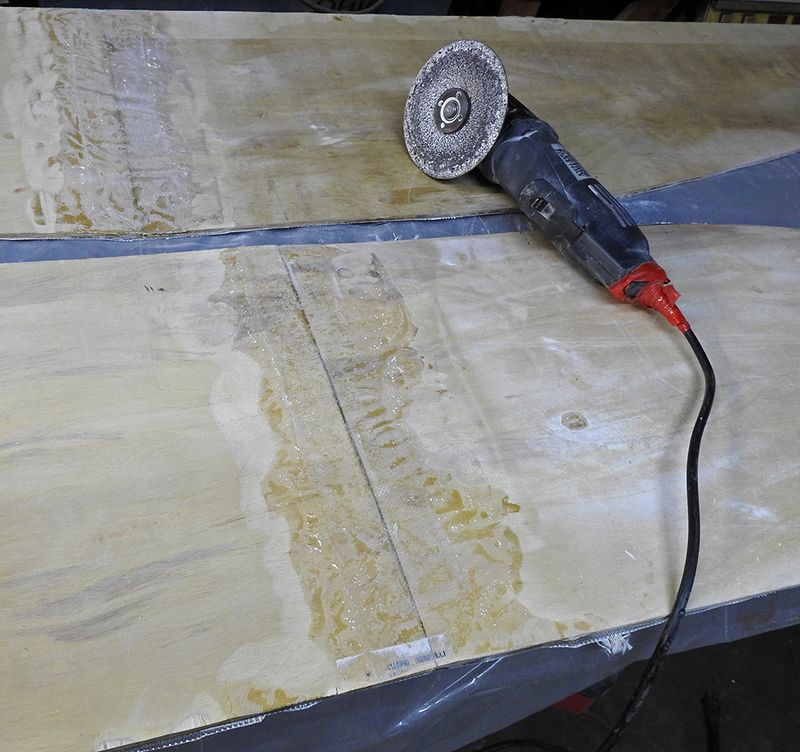
- Use disc sander to smooth both side of joint in preparation for next overall layer of fiberglass
APPLYING FIBERGLASS AND EPOXY TO PANELS
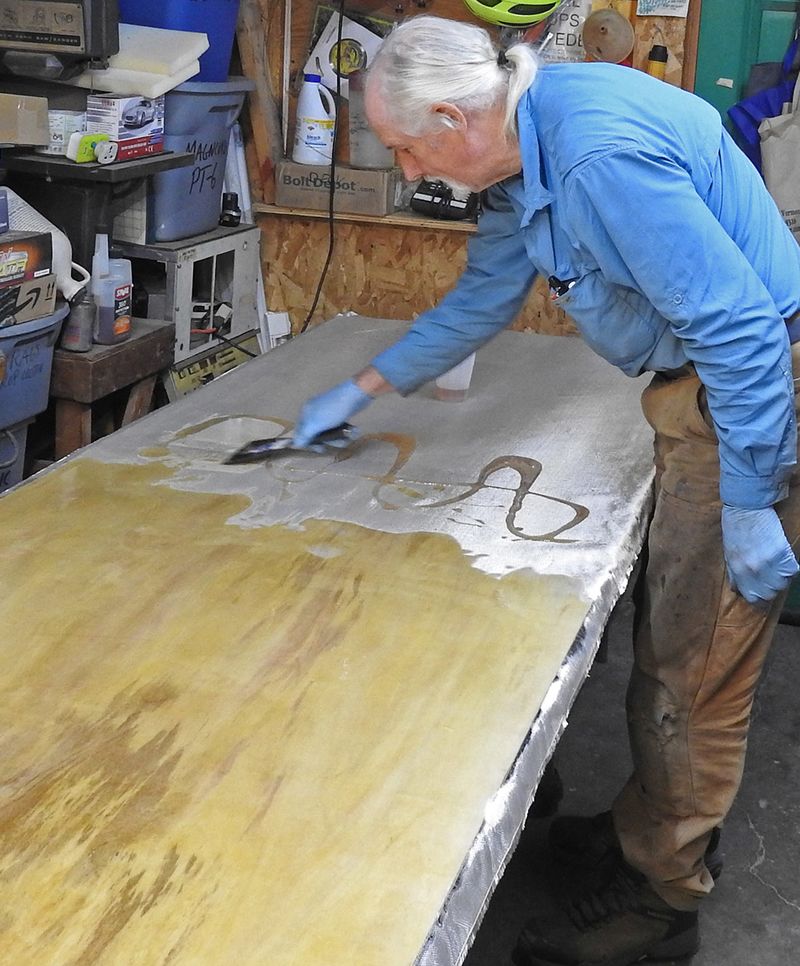
MIX EPOXY WELL! You can keep making and spreading small batches (Say 8 pumps) until done.
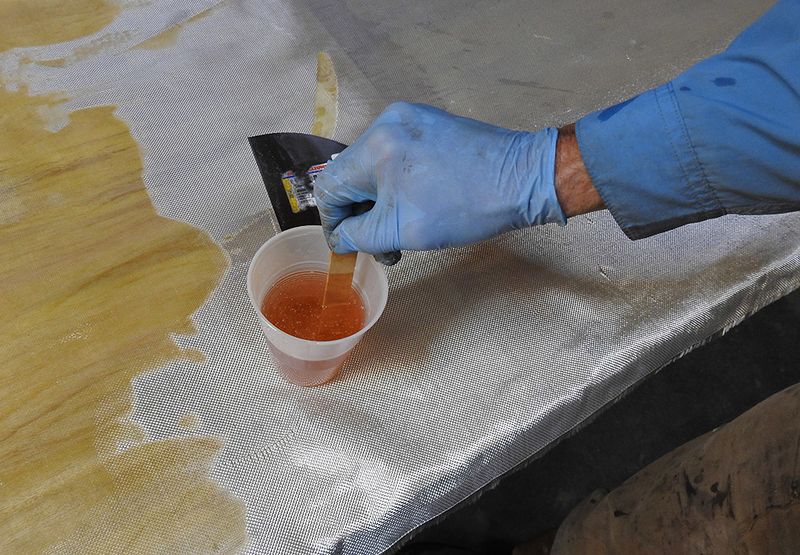
Distribute epoxy across panel and use large metal putty knife or plastic scraper to distribute it. Make sure every part is saturated with resin but not flooded. When almost done with a section use the scraper "almost flat" along the direction you are working.
After 1 layer of fiberglass on whole panel (left):
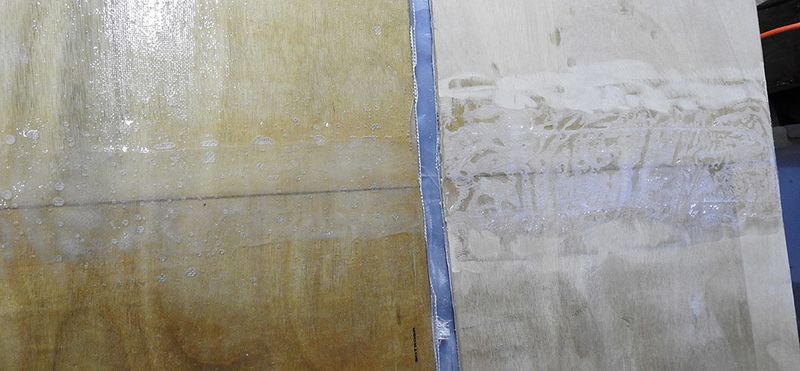
After second coat of epoxy on entire panel
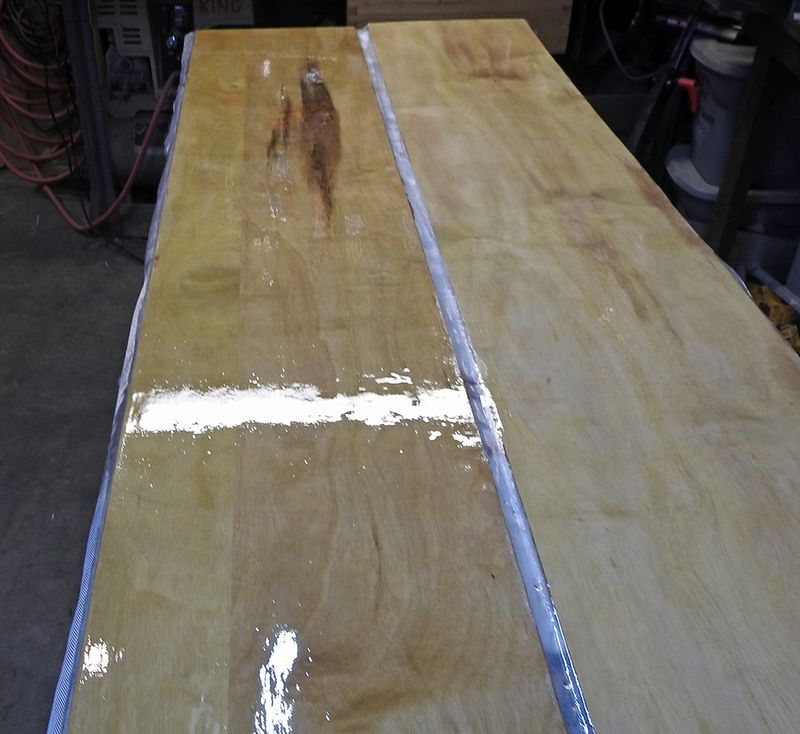
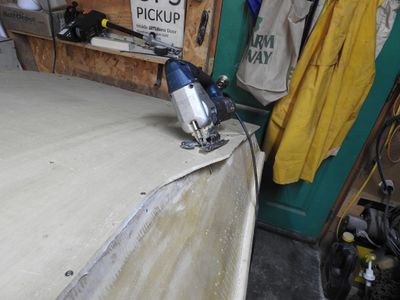
NOTE: After complete cure, you will need to CAREFULLY trim the excess fiberglass/epoxy flush with the wood panel. I used the sabre saw with a fine blade. CAREFUL! The edges are SHARP. See My Bandages.
CUTTING THE BOW PLATE AND TRANSOM
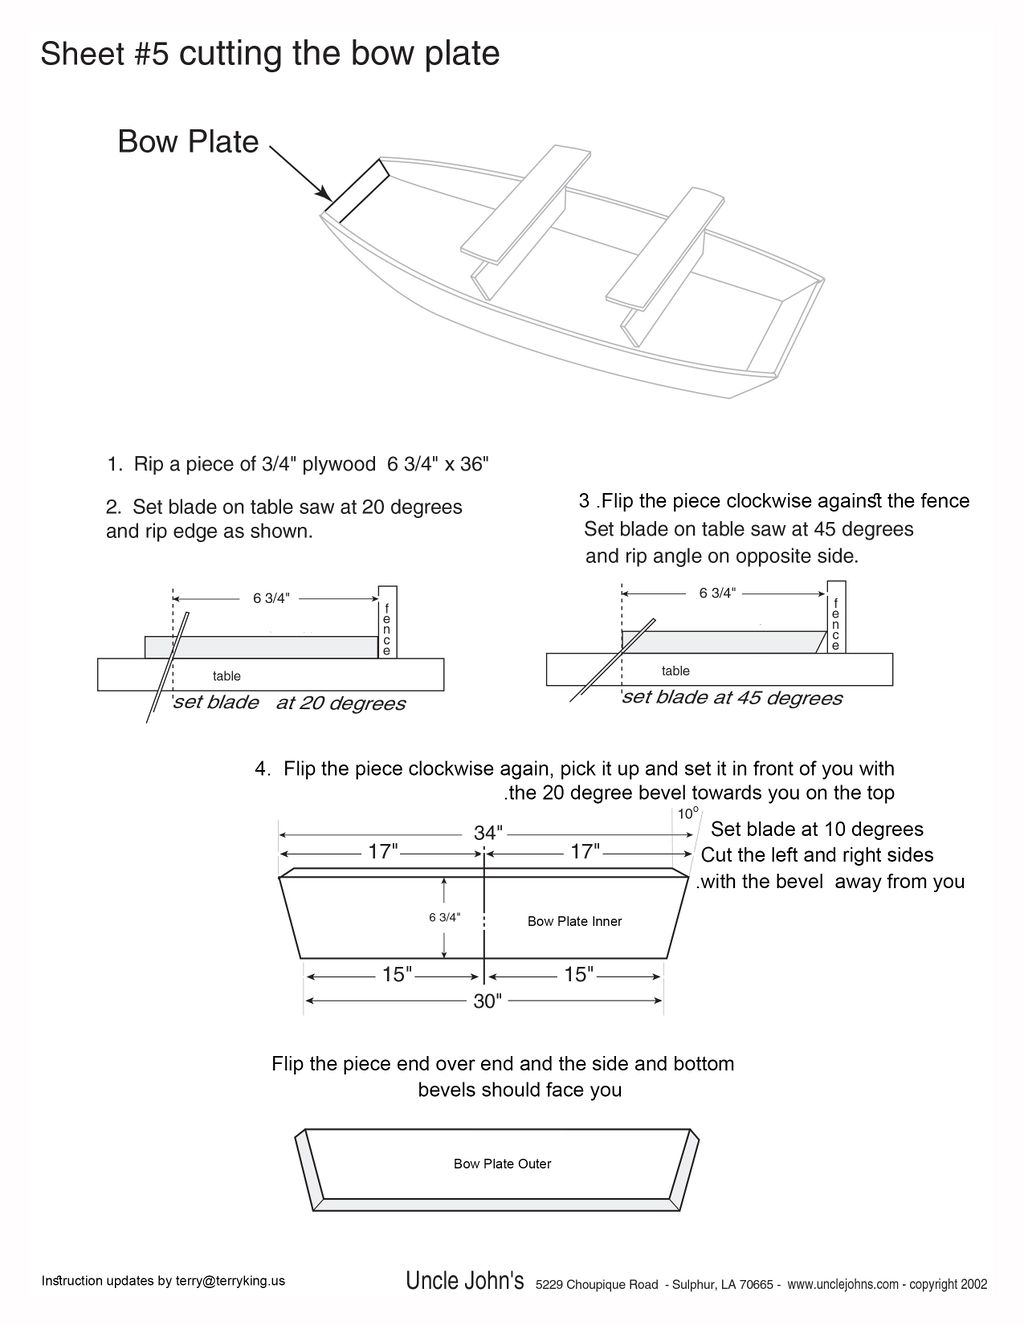
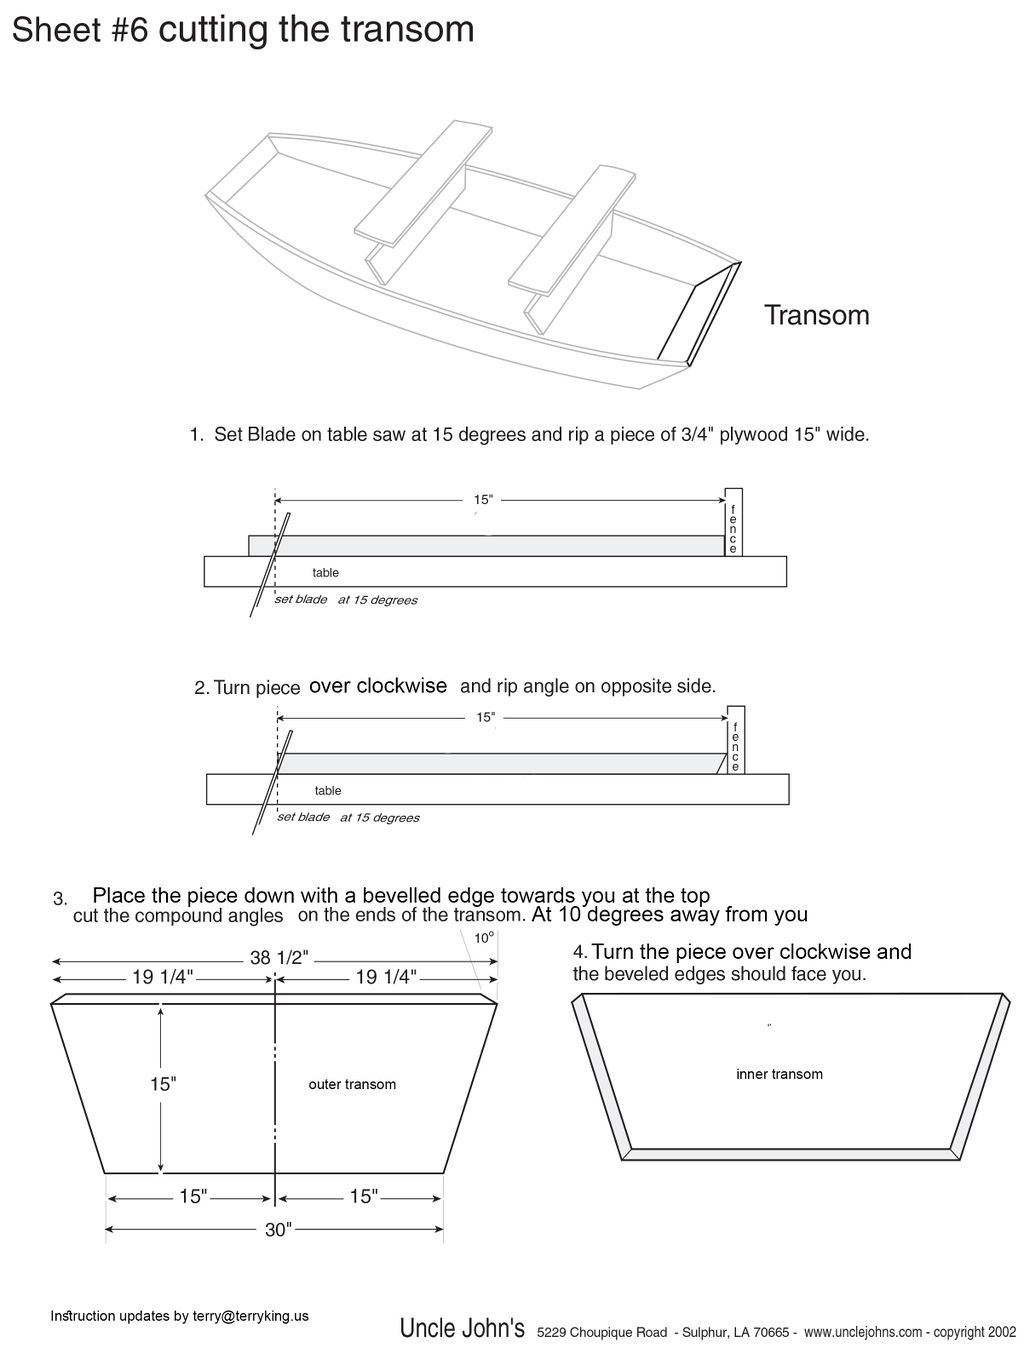
I found some of the instructions on this confusing. As I got unconfused and actually cut the parts, I decided to write a different set of instructions for laying out and cutting the Bow Plate and the Transom. Here are my versions of instructions. When you get the real plans and decide what length and width of boat you want, some of the dimensions will change.
Bow Plate
Transom
A PROBLEM WITH PLYWOOD
I've used many different kinds of plywood. Now I'm building a UncleJohn JonBoat. http://unclejohns.com/jonboat/ 12 feet long (Fits in my heated basement shop in the snow in Vermont)...
So Uncle shows 1/4 plywood with at least fiberglass/epoxy joints. Hmm.... I built a 20 foot cuddy cabin with a small block chevy engine, with 1/2 ply and LOTS of fibreglass and epoxy. So that 1/4 inch makes me a little nervous.
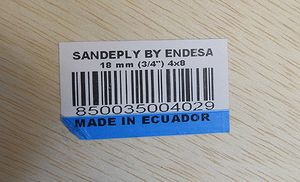
But I was was ReadingTheWeb and southernpaddler.com/ about plywood and somewhere I heard about "sande" plywood. It's a tropical hardwood from like Guatemala. Google and there it is on HomeDepot. LIKE THIS... It's touted elsewhere as often used as marine plywood material, and almost no voids.
So I bought 3 sheets of the 1/4 and one sheet of the 3/4 for $140 I have now cut out the jonboat sides and bottom and done fiberglass butt joints and added 6 oz glass/epoxy on both sides of the sides and the inner bottom. Plan to do bottom outside after assembly with 1 layer of 18oz roaming and 1 layer of 8oz glass. I cut the seats and seat bulkheads, bow plate and transom out of the 3/4. NICE.. No voids, even in 12 cuts of 4 feet long in the 3/4.
BUT, BUT this plywood is not rated as Exterior and has poor glue. RE: water resistant glue?
HD Does not answer that in any of their online information. What do we have to go on?
- The Sande companies and their corporate companies say Sande is "Often selected for Marine Plywood". No glue comment there, but implied waterproof.. - Several sources I found state that "There is NO plywood made anymore with water-soluble glue, because the large mills all run the same chemistry/glue". - I also got that answer verbally about 5 years ago from some HD guy on the lumber floor.
So, who are we to BELIEVE?? I'd go with some guys I respect like Dave Carnell, "Dynamite" Payson , Jim Michalak , Phil Bolger and others I forget (sorry!)...
Dave Carnell defined for us All About Epoxy and Acrylic Latex paint (HERE). Jim Michalak has done destructive testing on plywood and glues (HERE). (I captured these on my Wiki because I have been worried they might disappear...)
Jim Michalak BOILED several types of plywood and none delaminated. Read his details on the link above.
UPDATE: I DID Boil It. Not Good News...
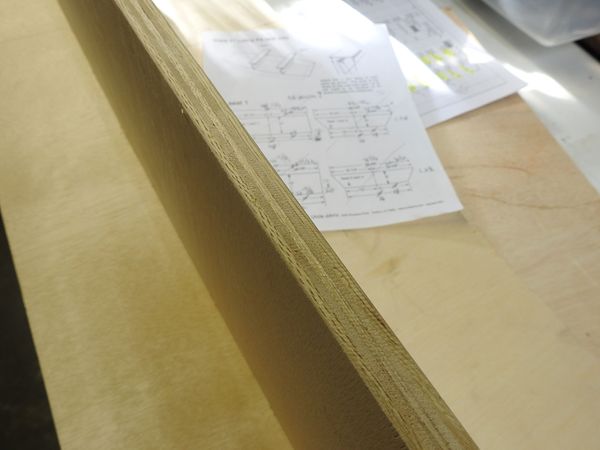
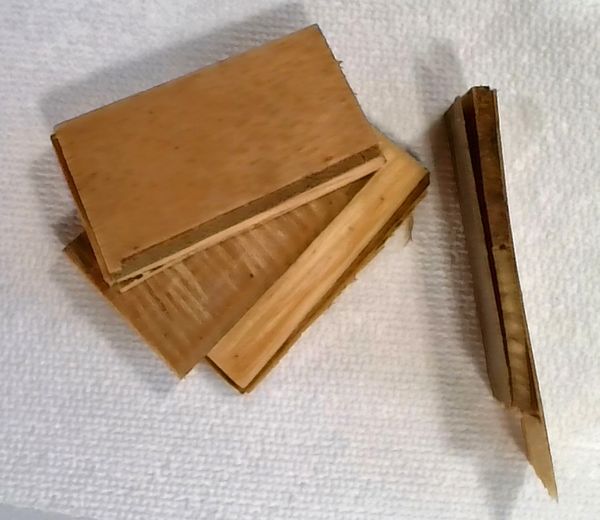
After 1/2 hour boiling it was still intact. After 1 hour boiling the 3/4 delaminated in 2 places and the 1/4 had one veneer loose. Photo:
OK, so.. dealing with Reality (I hate it when that happens, but I'm used to it) : What am I gonna do??
- Epoxy Encapsulate all wood on this build (as planned, but more thoroughly)
- Run the boat and keep Ya'll up to date on how it goes. Yes, I do have PFD,s
- Check Northern Florida river temperatures. Ahhh. The Withlacoochee rarely boils...
- Do the Naval Inspector thing with the small pointed tool on the wood twice a year.
- Endure the slings and arrows ya'll may feel free to sling....
CUTTING AND JOINING THE SEATS AND SEAT SUPPORTS
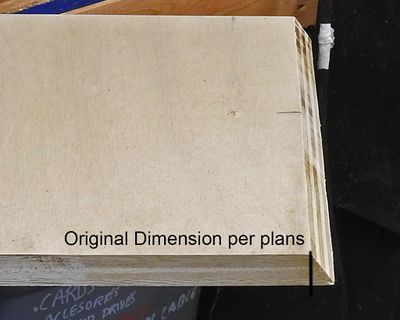
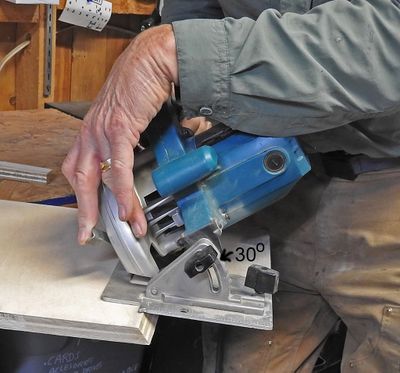
This is different only in that I cut the right and left edges of the seats at 30 degrees (same as the seat support angle). So the bottom of the seat has the regular width dimension, but the top of the seat has added material in a bevel. This makes the seat support and the seat side align exactly together and meet the side panels more exactly.
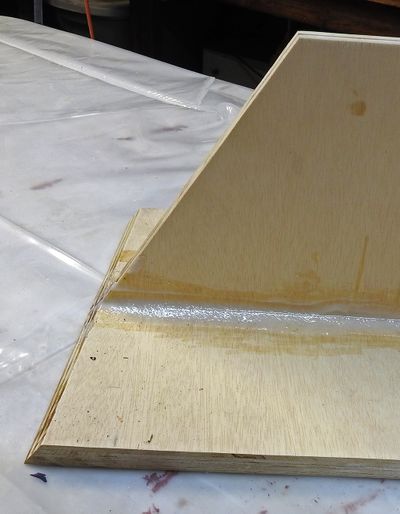
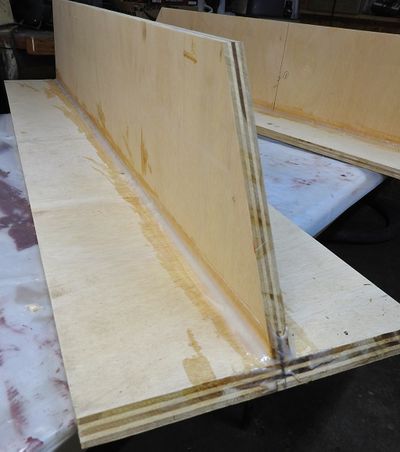
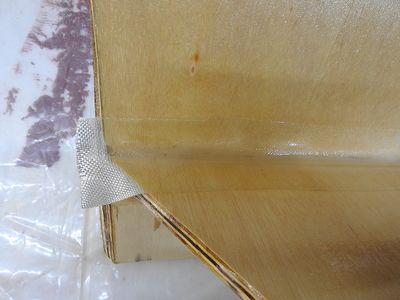
Bonded the seat tops with the seat supports with thickened epoxy and screws. Then 'coved' with thickened epoxy and added 3 inch fiberglass tape
These seat/support assemblies add much of the boat's strength and rigidity. I hope..
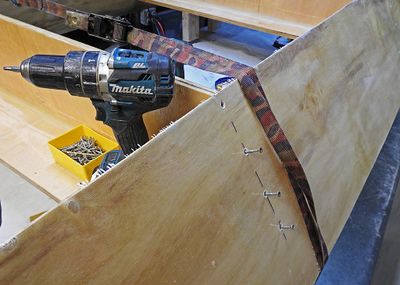
LEFT: The coved (rounded) joints on the seat-supports were covered in 3 inch fiberglass tape and epoxy. CENTER: Ready to start attaching seats-supports RIGHT: ratchet strap pulls sides and support together.
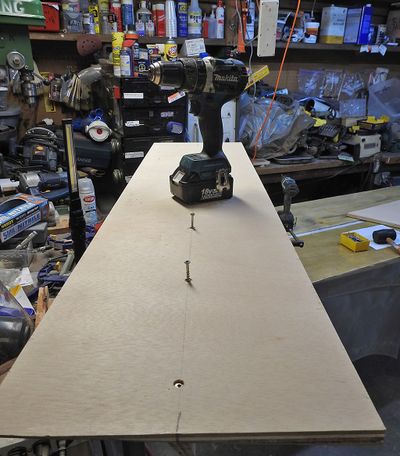
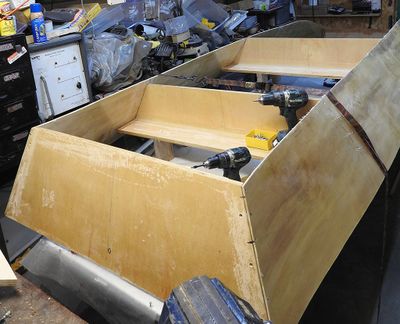
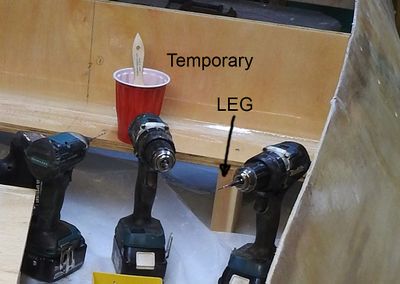
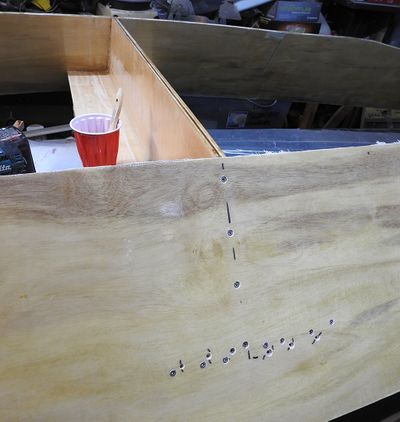
The Bow Plate and Transom tops are in a straight line, but I wanted the seat/supports to be up at the same level of the 'bottom' to make it easy to position them, singlehanded... I made eight 5-1/2 inch pieces of 2x4 and screwed them in place as temporary legs. The seat edges and seat supports are joined with thickened epoxy and screws. Ignore those Other Six Holes: they are epoxied in now :-)
Adding the sheer strips / coaming
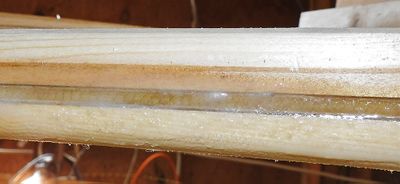
- 4 pieces of fir were cut 1-3/8 (original thickness) by 3/4 and two edges were round-over routed. First the outer strip was positioned. Then it was roughly clamped in place and pilots were drilled for 3/4" ss screws from the inside, The strip was unclamped and thickened epoxy was applied to the outer eedge of the side and the mating edge of the strip. The strip was carefully positioned, clamped in several places, and the screws were inserted. Epoxy squeezed out of the joint was smoothed into the joining areas.
- After the epoxy cured overnight the clamps were removed and small drips etc were cleaned up.
- The outer pieces were trimmed and temporarily clamped in place. 1-1/2 SS screws were piloted about 1 foot apart. The clamps were removed. Thickened epoxy was applied to the side panel and the strip and they were carefully positioned and clamped. The 1-1/2 screws went through the outer and side panel into the inner strip.
Here the coaming inner and outer pieces have been epoxied in place, but not trimmed yet. And then there's a photo of the "Sandwich" with the problematic plywood end grain very epoxied.
INSTALLING THE BOTTOM STRINGERS AND BOTTOM PANEL
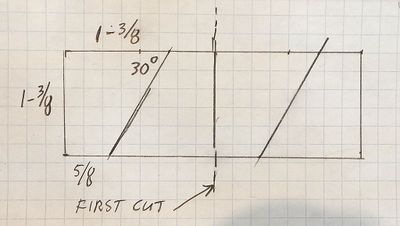
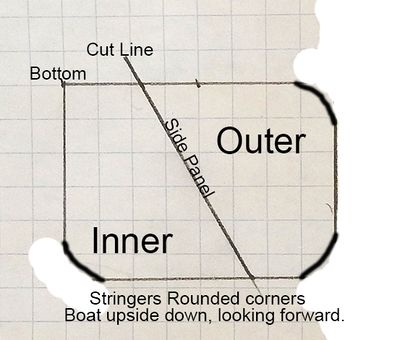
Here's what the boat looked like after we turned it over. Needs a Bottom... Figuring how to make the stringers to join the side and bottom. The angle is 30 degrees.. OK, I have some nice 1-3/8 fir (Barn flooring; may not be available in your area ! ) I'll go out in the barn and Rip-Rip.. Here's what I decided:
OH: Just realized my wonderful Sears-Roebuck Radial Arm Saw is 50 years old. I asked my friend Walt Fischer, a Sears Repairman, what was a good saw. "OH", he said, "you know the Price Freeze??" (On Aug. 15, 1971, in a nationally televised address, Nixon announced, “I am today ordering a freeze on all prices and wages throughout the United States.”) Walt continued: "The good radial arm saw WAS on sale. But if you go in NOW and ask for it by part number, they HAVE to sell it to you at the Frozen Sale Price!".. Walt was a great, always-smiling guy. One day he gave me a nice plastic washing machine agitator. "You think this looks like a Rocket? Give it to your kids.".. Walt's kids and my kids still know each other well. AHH.. Old Guys have SO many Stories...
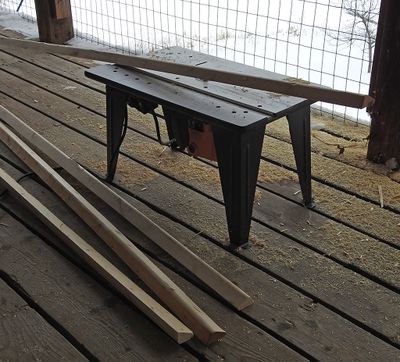
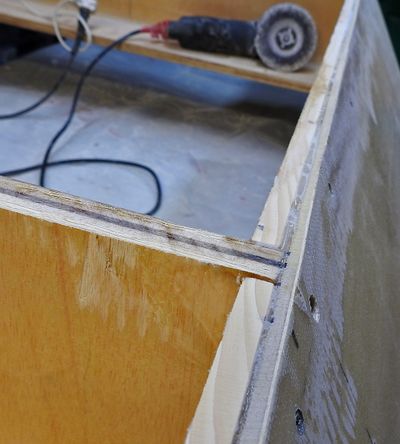
Stringer edges rounded over with Router table on porch -- stringers ready -- Inner stringer installed
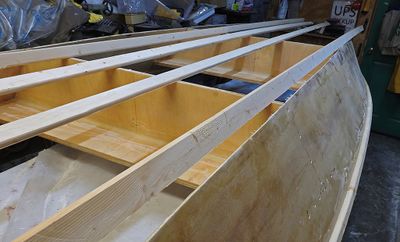
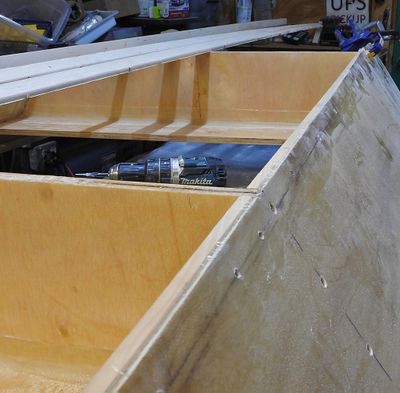
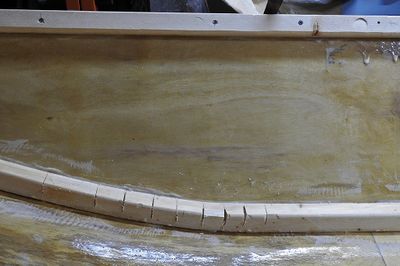
The inner stringer is in sections, fit between the transom - rear seat support - front seat support - bow plate (with curve). Several cuts 2/3 thru the stringer allow it to bend. TBE (To Be Epoxied).
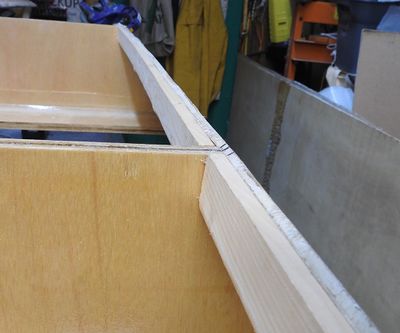
On the right, the joined inner stringer and side panel have been sanded flat for close mating with bottom panel.
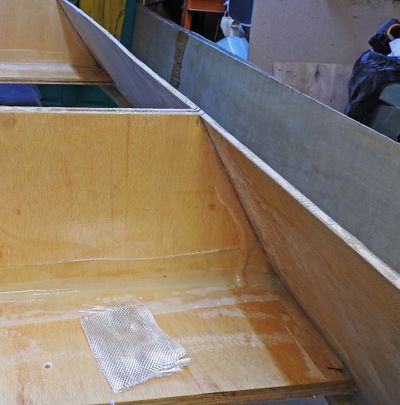
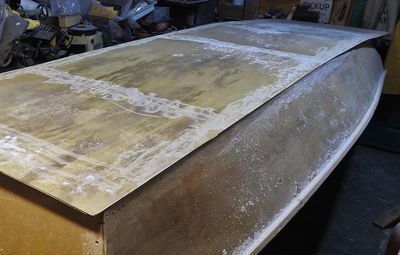
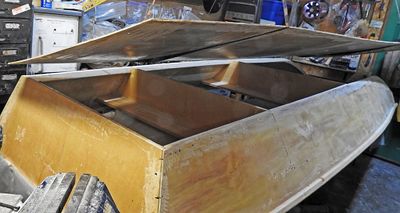
The bottom has glass/epoxy on what will be the inside. Here the sections that will mate with frames are sanded for good epoxy adhesion. Then the bottom panel is suspended by ratchet straps so it can be tilted back and forth to have epoxy applied in the mating places. After the frame pieces have thickened epoxy applied, the bottom panel is lowered into position. I had previously located it exactly at aft and center, and drilled and inserted 4 screws. That way I was SURE the front section would be centered as it was pulled down and screwed down.
LATE INCOMPLETE UPDATES
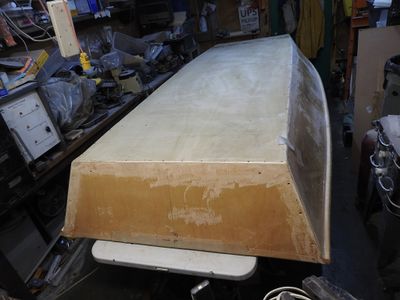
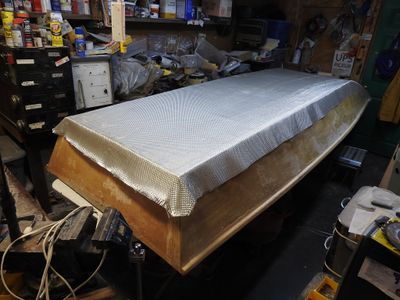
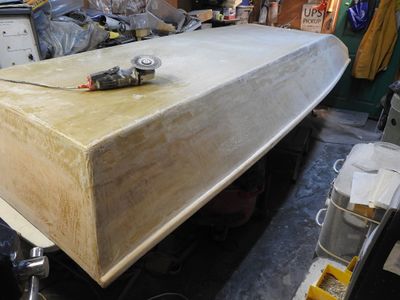
Sorry! Have to get this boat on the TahoeTop tomorrow.. I'll pick up on details later. For now quick sequence:
DIFFERENCES WITH THE ORIGINAL PLANS
These are the differences in methods and materials we used compared to the original plans.
- Made Butt Joints in panels with the "Dave Carnell Method" rather than scarph (W) joints.
- Applied fibreglass/epoxy to both sides of side panels and inside of bottom panel before assembly
- Redefined the sequence and identification of the cuts to make the Bow Plate and Transom
- Applied one coat of epoxy on all sides of Bow and Transom parts before assembly
- Cut the ends of seats at a 15 degree angle, expanding them past the nominal plan dimensions
- Added inner stringers to side-bottom joint.
