Al-Nahda-KIT
AL-NAHDA ACADEMY KIT PARTS
ARDUINO MICROCOMPUTER
MAKING CONNECTIONS
Here's some detail of how the BREADBOARD that we use in this kit is organized:
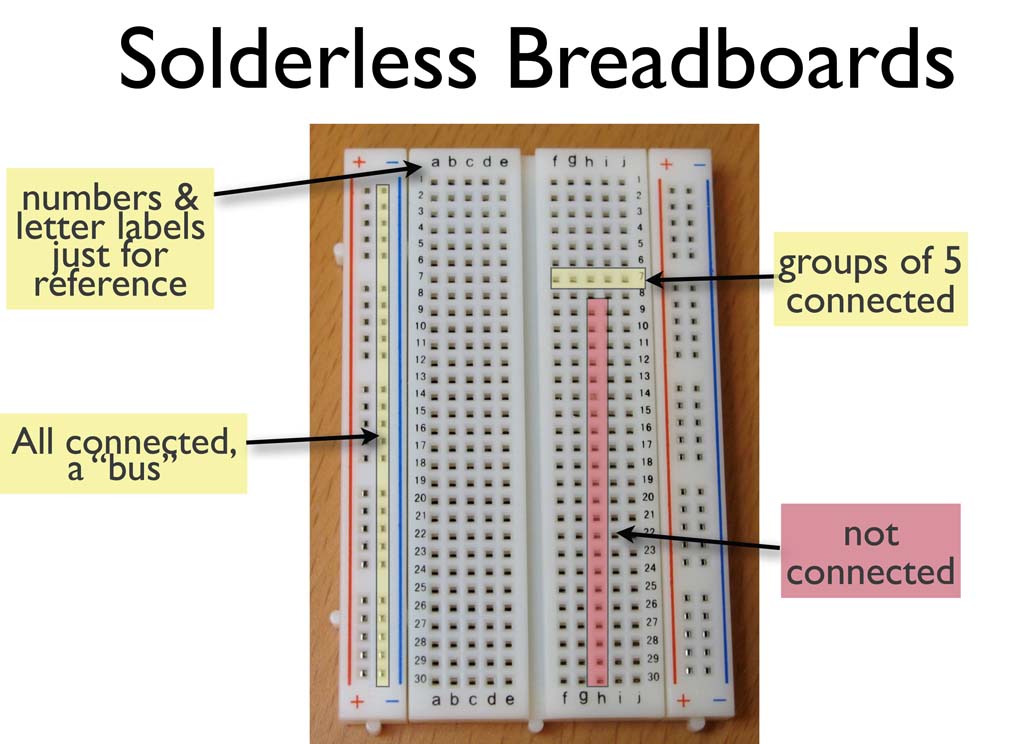
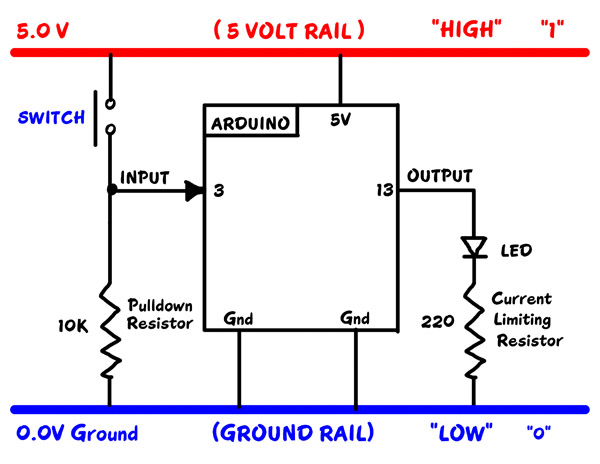
We will use this picture to think about how we connect things to Arduino. It shows the +5V and Ground "Rails". (More about Diagrams later).
What about wires? Locate the "40 pin flat cable" and the "Male-Male Pin Strip Connectors" in your kit.
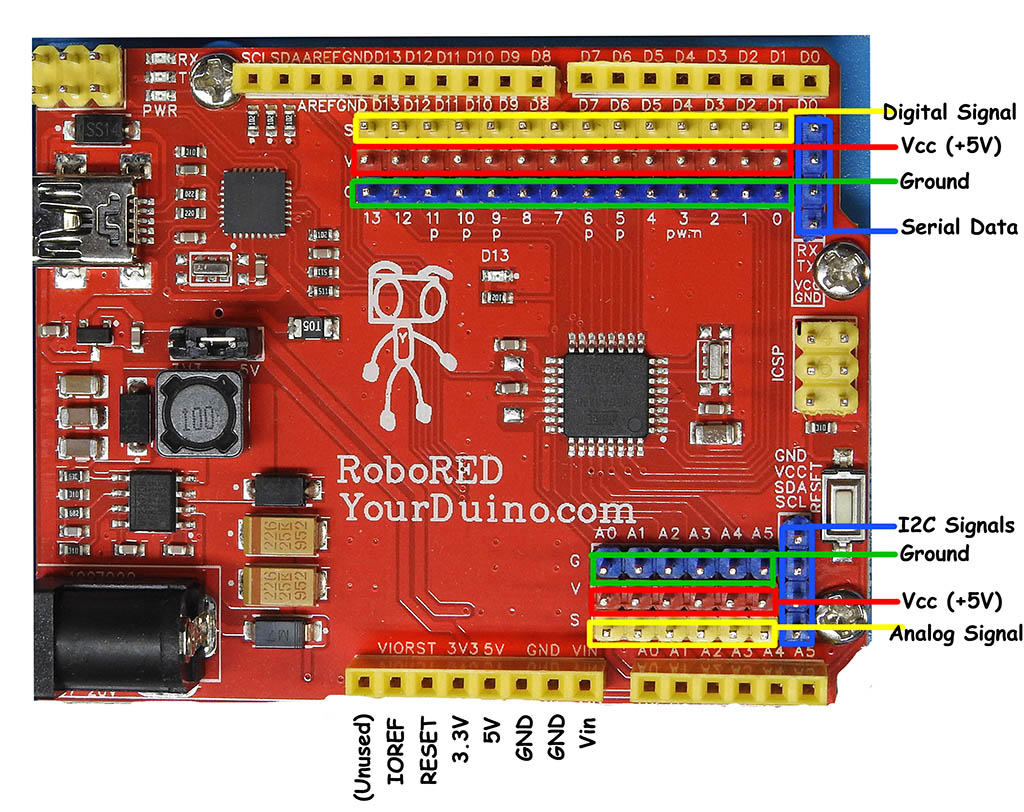
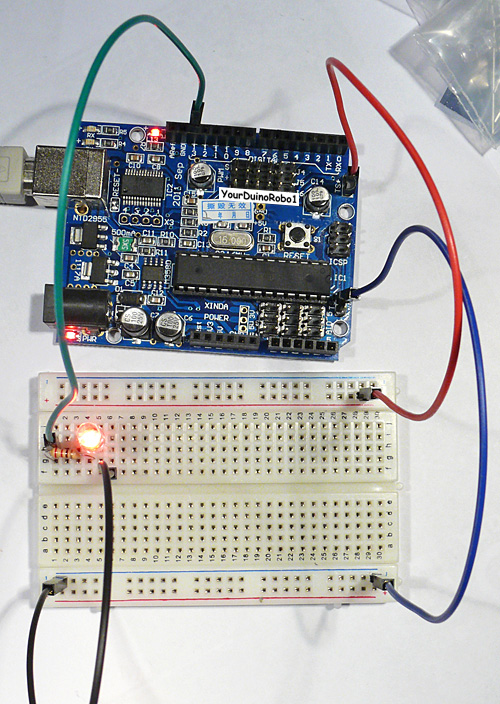
To start we will connect the "5V Rail" to "5V" on the YourDuino board.
WIRES:
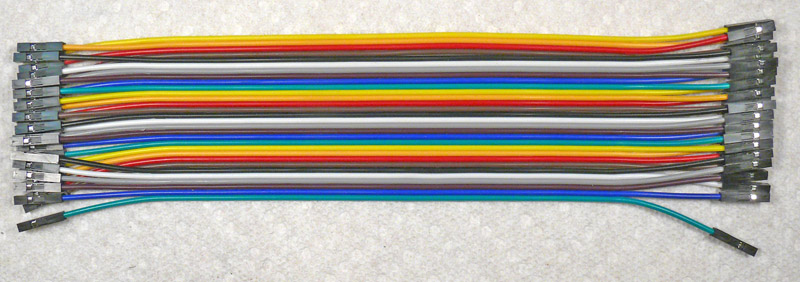
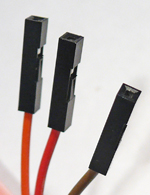
We will use the "40 pin flat cable" in your kit for wires. It looks like this:
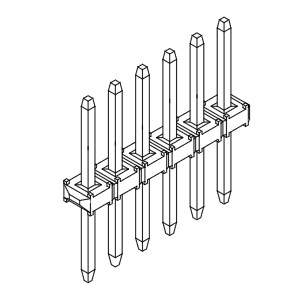
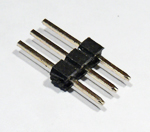
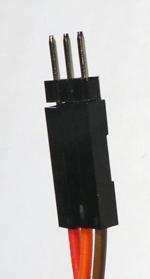
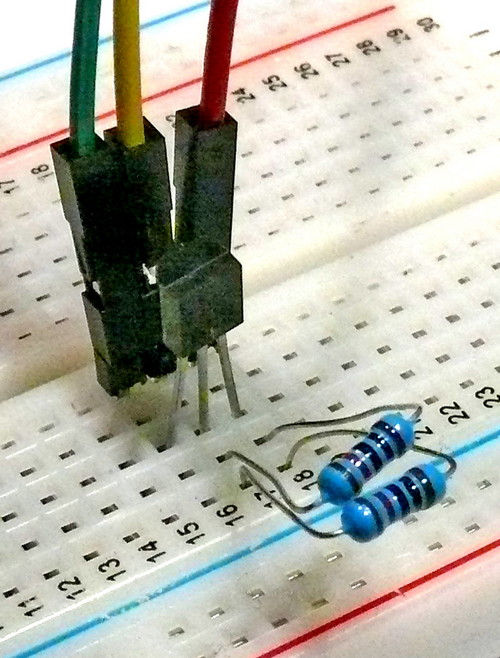
You can easily strip off one or more wires, or strip off a section to use as a cable. The ends of these wires are female connectors that can plug onto the connectors on the RoboRED or a "Sensor Shield". But what about the breadboard?? It needs a wire with a male end to plug into it. The pin strips (above) are the answer. Your kit has 2 of these with 40 pins each. You can cut or snap off the number of pins you need. For now, snap/cut off about 6 single pins. It's easier to snap off just 1 pin if you grab it with a small pair of pliers of some kind. Or you can "cut" in between the pins with strong scissors or wire cutters. OR try this: Grap the pin strip with both hands, very close in between the pins where you want to separate it. Hold tight and TWIST the strip apart.
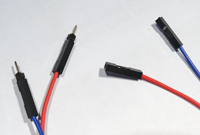
Here's the way this works:
| male pins (left) |
| female wire ends |
| 3-pin strip |
| 3-pin cable end |
You can make any combination of male or female cable ends of different widths.
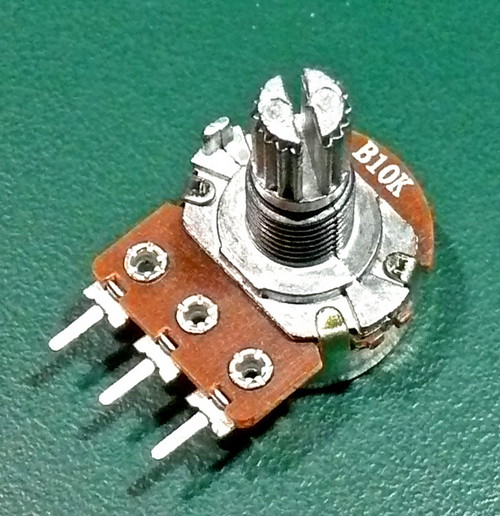
PARTS YOU CAN CONNECT
