Thermocouple-MakeYourOwn
How to Make Your Own Thermocouples
Thermocouples (WikiPedia Link) are most used to measure temperatures. They can measure very high temperatures. A type K thermocouple (made of chromel–alumel) is useful from -200 °C to +1350 °C (-330 °F to +2460 °F). You can measure temperatures in ovens, kilns, woodstoves, and engine exhaust gases etc.
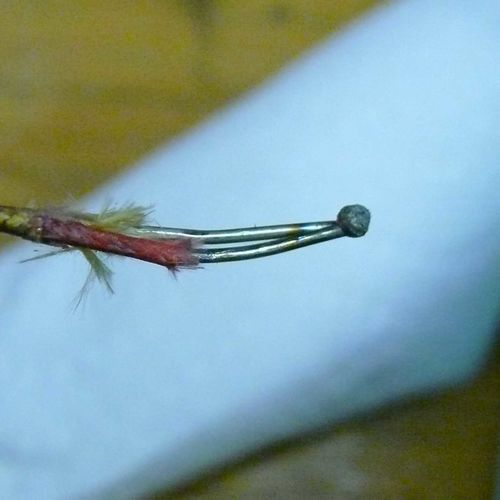
Thermocouples are made with wire that has two dissimilar metals. The active end of a thermocouple is a junction where the two wires are connected together. If the wires are twisted together tightly the thermocouple will work for a little while and then fail due to oxidation. The best way to make a reliable thermocouple is to weld the wire end together. There are nice, expensive "Thermocouple Welders". But you can do a decent job with a 12V car battery and a piece of carbon from a D cell, or a carbon Motor Brush or a carbon arc electrode.
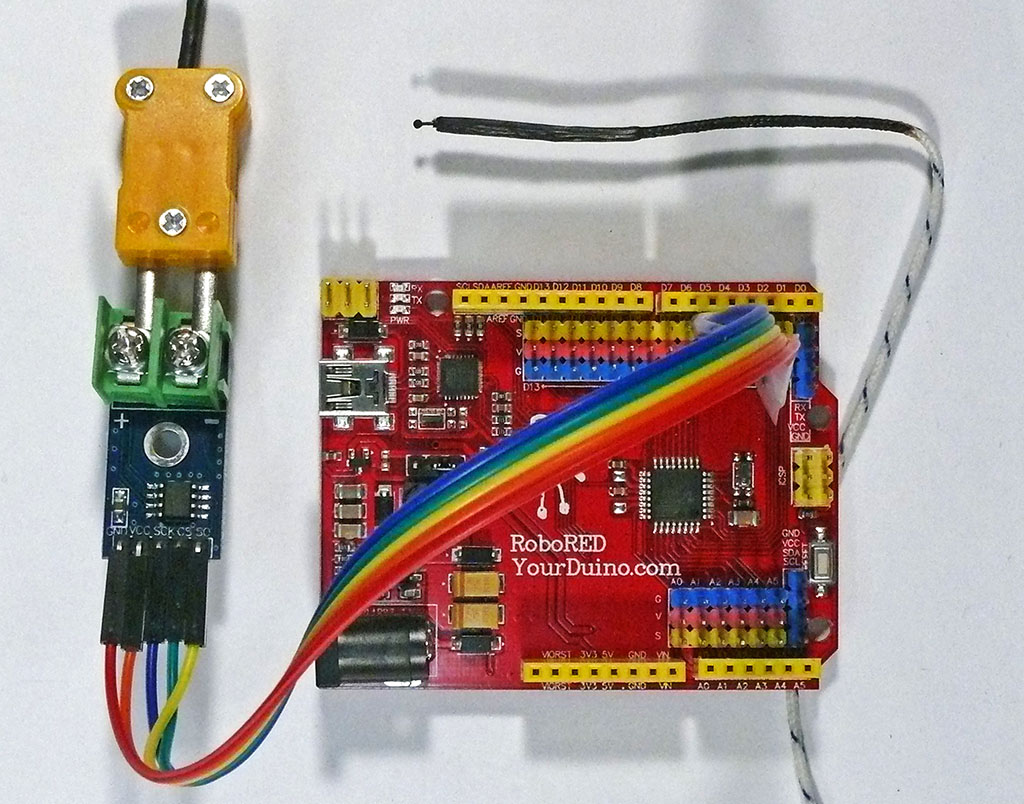
To measure temperatures with Arduino or similar microcomputers you can use low-cost thermocouple interfaces As Shown HERE.
Here are photos of the way I made some thermocouples I used in my Glass Kiln (link) and WoodStove (link).
Thermocouple wire
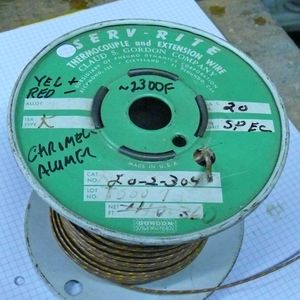
Thermocouple wire is widely available(Amazon Example). (DX.com) or (Google) On the right is a reel of old but good wire I got at a Hamfest.
If you need long wires on a Thermocouple you can not use regular wire and an extension. You must either use more of the same type thermocouple wire OR "Thermocouple Extension Wire" which is lower cost but compatible.
Welding Thermocouple wire yourself
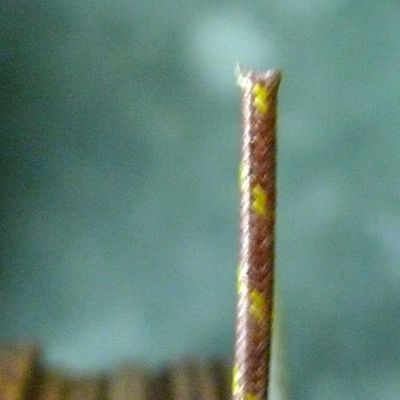
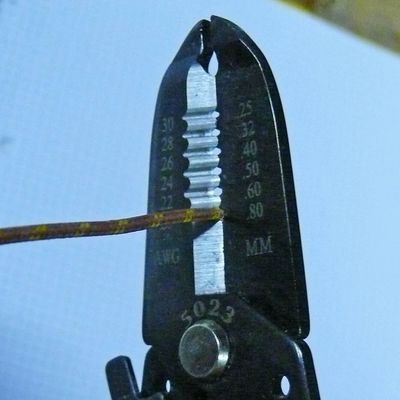
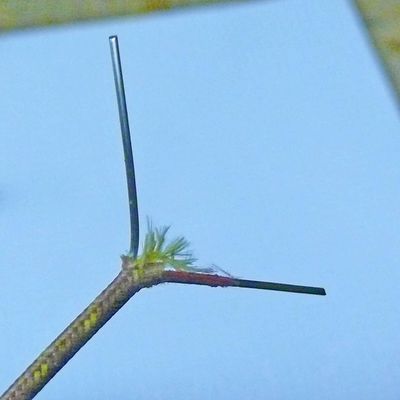
Here are photos of the thermocouple wire, and how it is stripped at the end.
The wire has tough fibreglass insulation and is flat/oval in shape. I used wirestrippers across the oval shape and pulled hard. After the outer insulation is removed you can see the color code of the conductors: Red - and Yellow + . I spread the wires widely, and then back together so they were spaced apart a little. I stripped the other end in the same way.
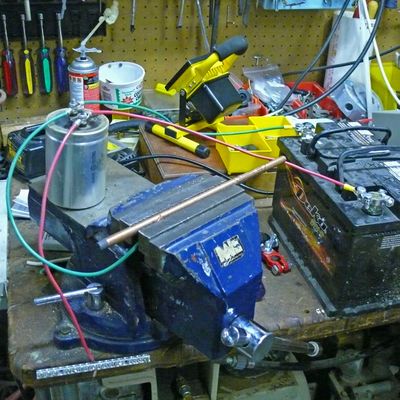
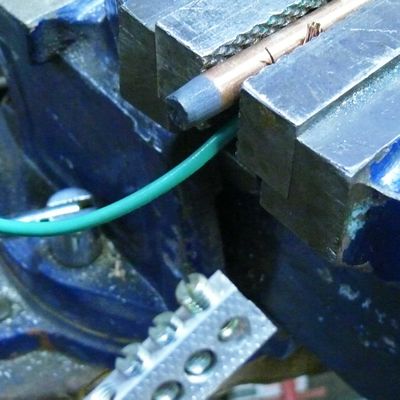
Here (Above) is the messy setup on my workbench I used to weld several thermocouples. 12V car battery, battery connectors from a car parts store, some medium-heavy (#10) stranded wire (You can get by the foot at HomeDepot), A capacitor (I have learned it is not necessary), and a carbon electrode clamped in the vise. See photos below.
The photos show:
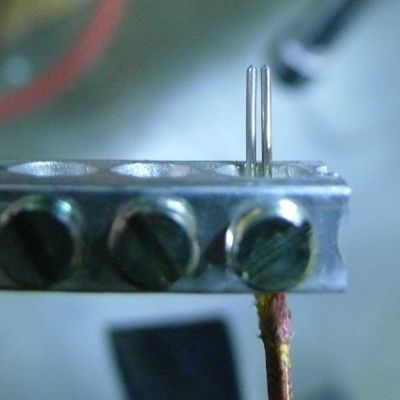
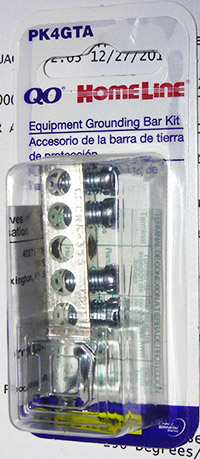
- Connections: - to carbon electrode in the vise + to a connection to hold the thermocouple wires (I used a "Ground Lug Strip" for an electrical box (Home Depot, below) )
- The thermocouple wires are held by a setscrew in the ground lug strip. Help the wire ends touch each other just a little.
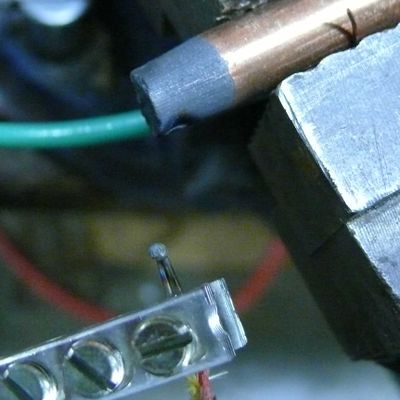
- Using dark glasses or welding helmet, use a light touch to push the wire ends against the carbon electrode. (POP! FLASH!) and the wires are a little shorter and welded together in a small ball.
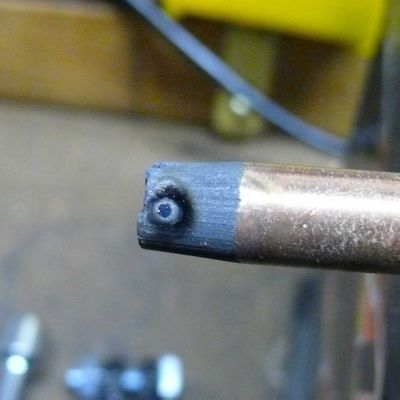
- A small pit and a little vaporized carbon is left on the electrode.
