YoungMakersYourDuinoRobot
YoungMakers ROBOT building
Making Things with Cardboard
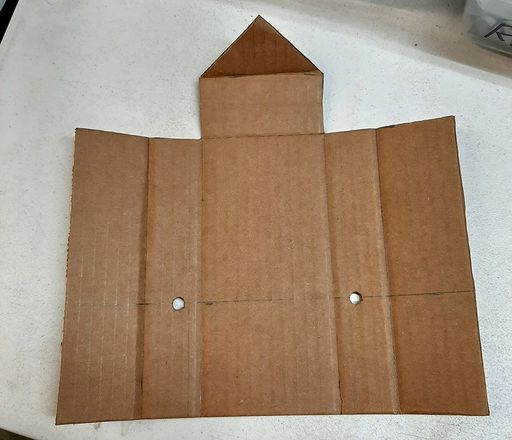
This is a test pattern for a robot base, cut from cardboard...
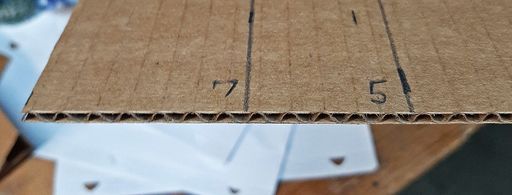
Look closely at the edge of the cardboard you have. See the "U" shaped corrugations?? Measure how many there are per (inch / cm).
It's best to fold the cardboard right on one of the "U" shaped sections. Here we are measuring the fold locations in "U"'s
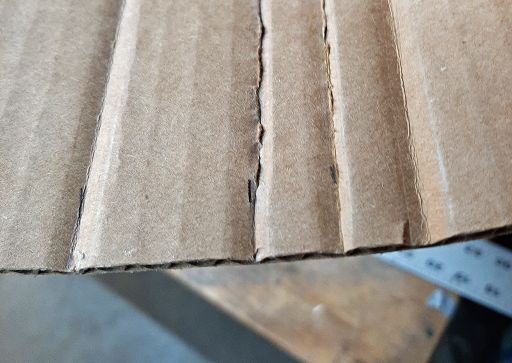
To make clean fold in the cardboard you need to crease or "dent" the cardboard right on top of a "U" shape. There are several tools you might use to do this. The creases in the photo were made by (RIGHT to LEFT):
- * A rolling wheel, like a pizza cutter or a screen replacement wheel
- * A large screwdriver (Phillips "X" shaped end)
- * A smaller, sharper screwdriver
- * A ballpoint pen (retracted)
You NEED a straight edge of some kind to guide the tool right on top of the "U".
Plan to do some experiments on ways to get cardboard to fold cleanly. The first things you make might not have the angles and sizes just like you want. Just try again!
CUTTING Cardboard
There are special retractable knives called "Box Cutters" (Left in photos below) made to (surprise) cut Cardboard Boxes. With a straight edge guide you can make accurate cuts. BUT you need a good surface to cut on (Or you'll mark up whatever is under it). Plywood is good, other hardboard or a piece of lumber/wood is OK. If nothing else is available, use 2 or 3 layers of other cardboard and set the knife to not cut too deep.
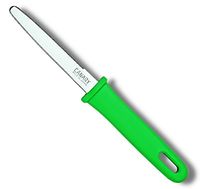
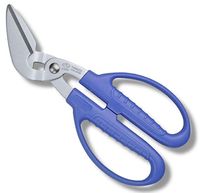
You can also use heavy scissors, or "Sheet metal cutting shears" or special cardboard cutting knives. Search on "Canary Knife" or "Canary cardboard Scissors". Examples:
Cardboard SHAPES
Remember this from school?? TRIANGLE is a STRONG SHAPE !
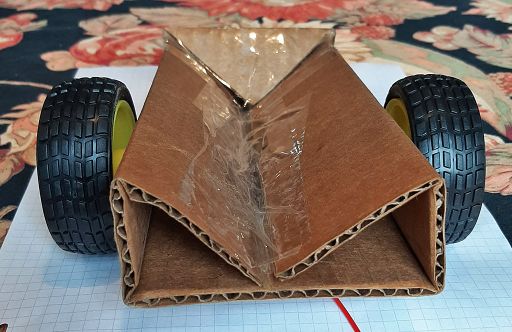
A triangular section of cardboard, securely taped together, makes an ideal part of your design.
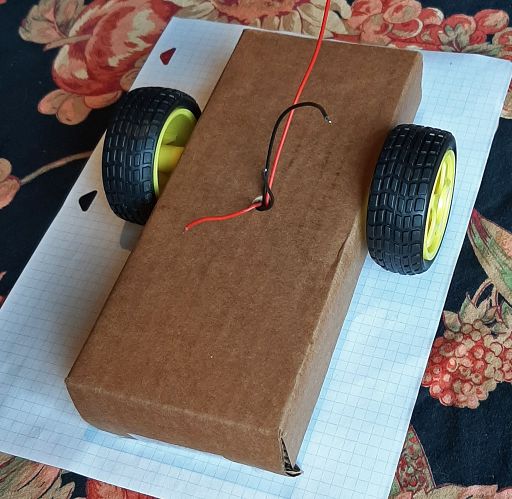
This is the cardboard shape from the first photo above. We figured out where to make holes for the robot motors. They fit inside the triangle shapes and their wires are brought out in the center. A hole was punched wiht a pencil, and the wire were brought up.
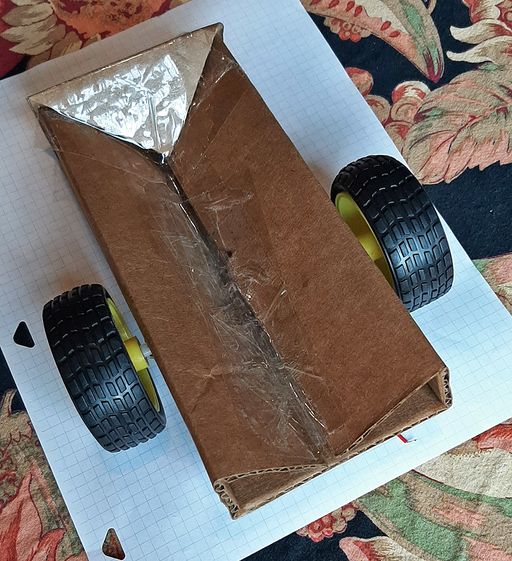
The triangular shaped end of the cardboard makes a "rear skid" on the robot chassis.
Later we want to add a smoother rounded piece of plastic so the robot does not get hung up on things.
At this point the Robot Chassis with motors looks like THIS.
