Cables
Cables-Wires-Pins!
Arduino is great but sometimes connecting interesting things to it can be a pain. Here are some things that may make it easier for you. Here are some of the cables and pins that are available, and below we'll show you how to use them for many different applications. Here are a few places you can jump to, if you're in a hurry:
- Cables#cablemaker "CableMaker" Flat Colored Cable: Make almost any cable very quickly
- Cables#pinstrips "Pin Strips" : male-male pins you can use to make any female connector into a male pin
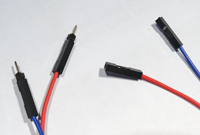
For use on Breadboards many people use "jumper wires" with male pins on both ends. But if you need to connect to a male pin on a module or Arduino type board that's a problem. The "Cablemaker" flat cable can easily be stripped apart into single (or multiple) jumper wires. The ends are female but the supplied pin strips can make any end male. No Gender Confusion Jokes, Please :-)
Many of these cables are based on using the Sensor Shield or the YourDuino RoboRED which has built-in 3-pin connectors.
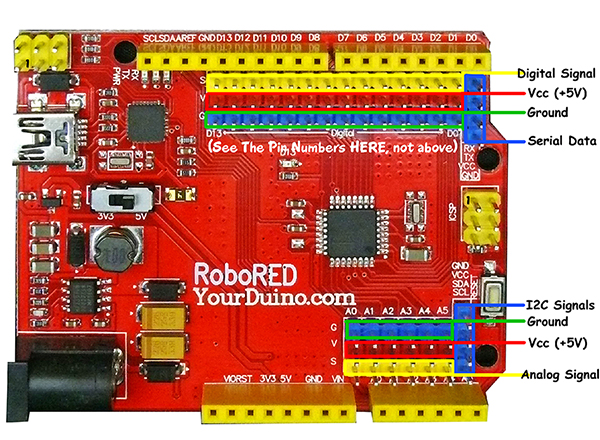
Take a look at the Sensor Shield and you will see that all the Arduino Digital Input/Output pins and Analog input pins are brought out to groups of 3 pins each.
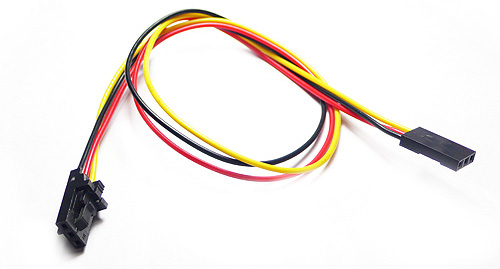
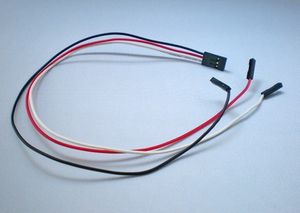
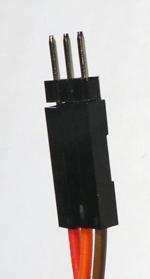
Many Input and Output devices (and servos, which this pinout is based on) have one signal pin plus Vcc(Usually +5V) and Ground. So 3 pins is the most common connection and we make this handy 15 cent cable for you (above).
The flat end plugs easily onto a [/SensorShield (Sensor Shield - See It) ]or YourDuino RoboRED which has pins arranged correctly as (G)(V)(S) Ground-Voltage-Signal. So just plugging in connects to all you need.
Sensor Shield
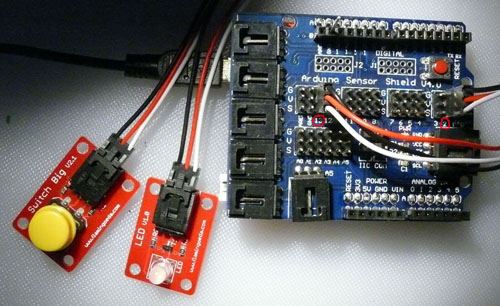
Here's an example of how easy it is to connect an input device (Switch) and an output device (LED) using this cable. We have an associate who has designed an excellent line of small modules that just plug in, called "Electronic Bricks". (He also designed the Sensor Shields).
Other Devices
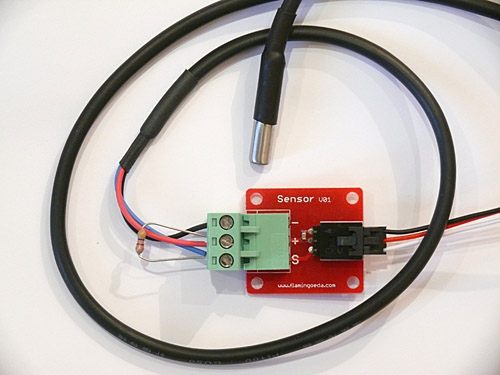
Sometimes you need to connect to some device that is not an Electronic Brick. One easy solution is the 3-Pin Terminal Block Brick. Here's an example of using it to connect a waterproof temperature sensor.
You could also use it to connect devices like Phototransistors, Thermistors, Buzzers, etc. etc.
The YourDuino RoboRED
On the left is the YourDuino RoboRED Arduino-UNO-compatible board. It has built-in 3-pin connectors on every I/O pin similar to a Sensor Shield. The top connector has 3 colors: Blue=Gnd, Red=+5V, Yellow=Signal. You will see that this is similar to the colors on the 3-pin cables. The bottom connector is for the Analog Inputs, and has Gnd - +5V - Signal in the other direction.
There is also a very useful cable that plugs into a Sensor Shield on one end, but has separate female sockets on the other end. This cable looks like the photo on the left and is available here:
4-pin Cables
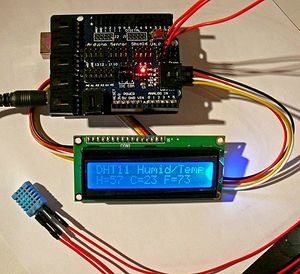
There is also a 4-pin cable similar to the 3-pin one shown above. This has Voltage, Ground and two signal wires. It is typically used for communications setups where the 4-pin socket on the right side of a Sensor Shield connects to a device that uses Serial Communications (2 directions: Transmit and Receive), or an I2C device like an LCD Display. On the right is an example of a 4-pin cable connecting to an LCD display.
NOTE: The Sensor Shield Version 5 and the YourDuino RoboRED have two 4-pin connectors and you can connect both serial communications devices and I2C/TWI devices at the same time.
Sometimes you need to make some connection and be independent of any pre-made cable. In the photo above a temperature-humidity sensor is being connected to 3 arduino pins.
A set of 25 of individual wires (like those in the photo on the right) is available here.
cablemaker
"CableMaker" Flat Cable
Below is another solution for connecting any device to Arduino:
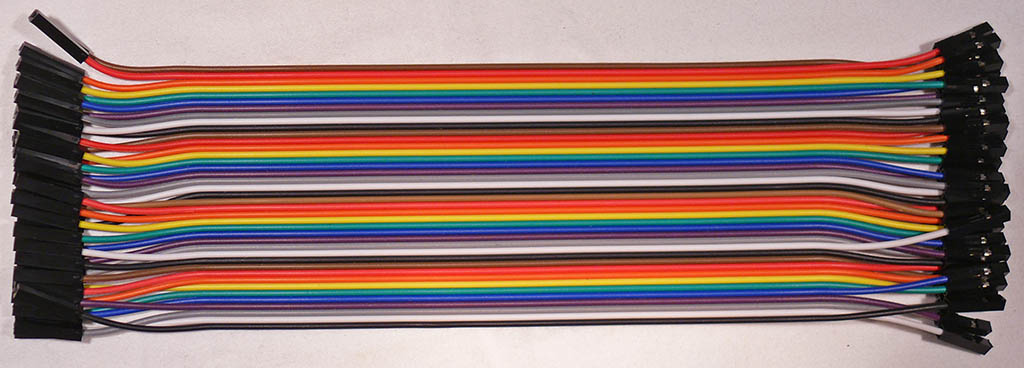
Here, we will show a solution for things that need more pins and connections and do not have a pre-made cable. It's still easy to make good connections. Above is a flat cable we have, with 40 wires and female connectors on each end. It's available in 20 and 30 cm lengths. But you usually use it by ripping off a section with a certain number of wires that you need (it's easy to rip apart).. Or rip them all off and you have 40 colored female-female jumpers for $2.00. These may be a better choice for Breadboard use than the typical bunch of male-male "jumper wires".
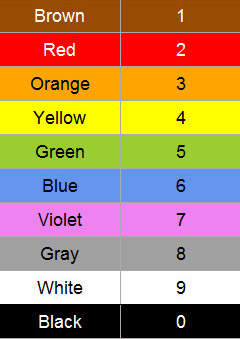
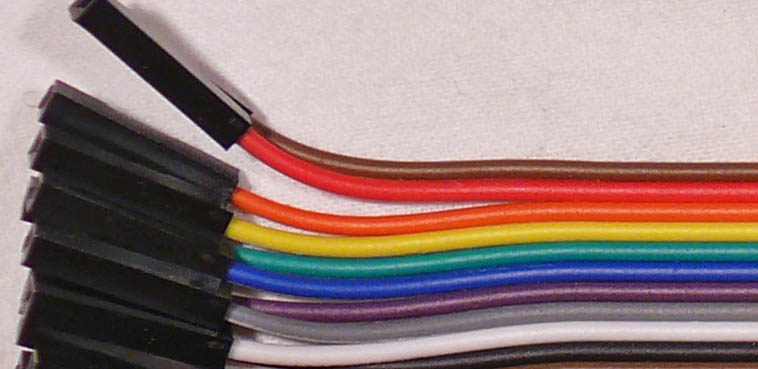
NOTE: The wires are often arranged according to the Electronic Color Code. This can help you organize your connections. See the chart on the right and the closeup of 10 of the 40 wires in the cable. There are 4 sets of those 10 colors in the cable.
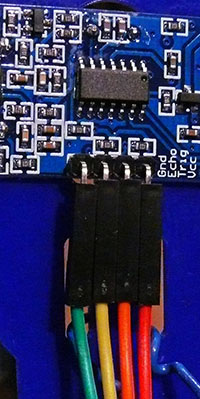
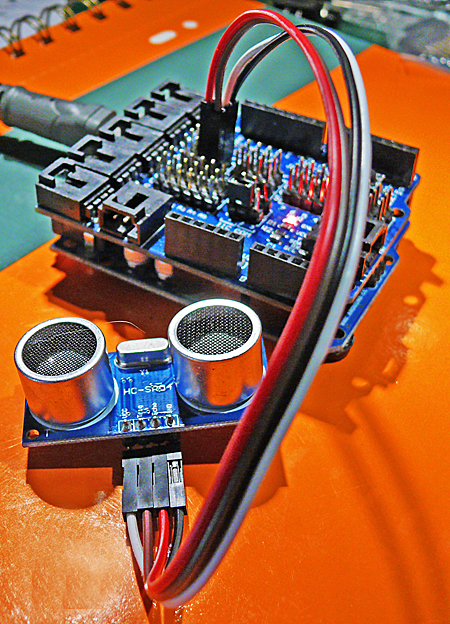
You can rip off the correct number of wires to make any cable that you need. And the colors will make it easy to tell what is connected on each end. Here are some examples. On the left is a cable to an Ultrasonic Sensor that has 4 connections: Gnd-Echo-Trig-Vcc. We decide to use Red for Vcc, Green for Gnd, Yellow for Echo and Orange for Trig and rip of that section of cable from Red thru Green.
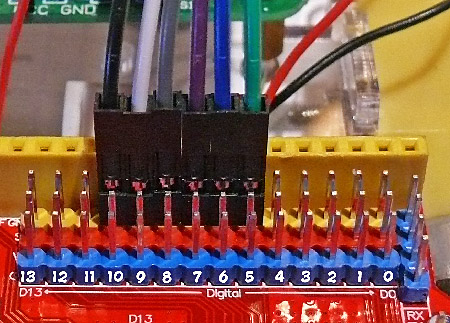
Next is a 6-pin cable to a motor driver. It connects to Arduino pins 5 thru 10 so we use the colors 5 thru 0 (Green thru Black) right to left in the photo.
HINT: When you use several pins together, make it a secure "connector" by wrapping the group of black connectors with regular Scotch tape. Then you can remove and reinstall your 'Custom Cable' easily.
pinstrips
Changing GENDER?
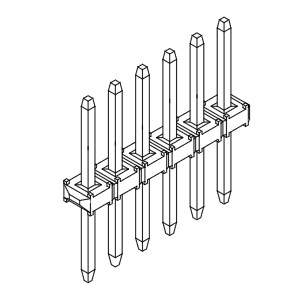
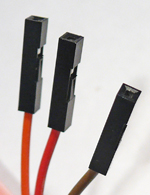
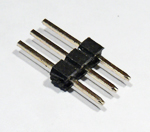
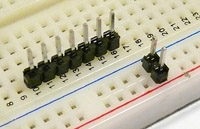
What do you do when you need male pins on one of these cables? You use strips of male-to-male pins like these (left) and snap off as many as you need. Here's the way this works:
| Male-Male pin strips |
| female wire ends |
| 3-pin strip |
| 3-pin cable end |
| male pins (left) |
| BreadBoard Connectors |
You can tape the black connectors and pin strip to make it more permanent. You can make any combination of male or female cable ends of different widths.
HINT: To snap off a section of a pin strip, hold it on both sides of the break point and rotate hard to twist it off.
You can also make your own cables like these from scratch if you get the connectors and crimping tools. There is a good How-To document HERE.
Connnecting to other devices
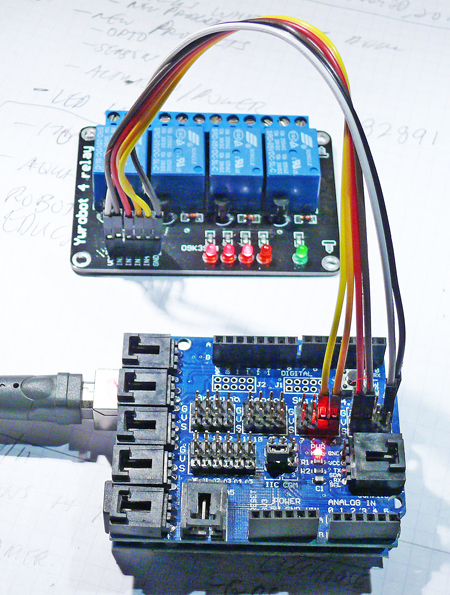
On the left is an example of using a section of this cable to connect to a 4-relay board. It has wires for +5, Ground, and relays 1,2,3,4 .
On the right is an Ultrasonic module connected with wires from this type cable.
