Electricity 101
Lesson 1:
Materials needed:
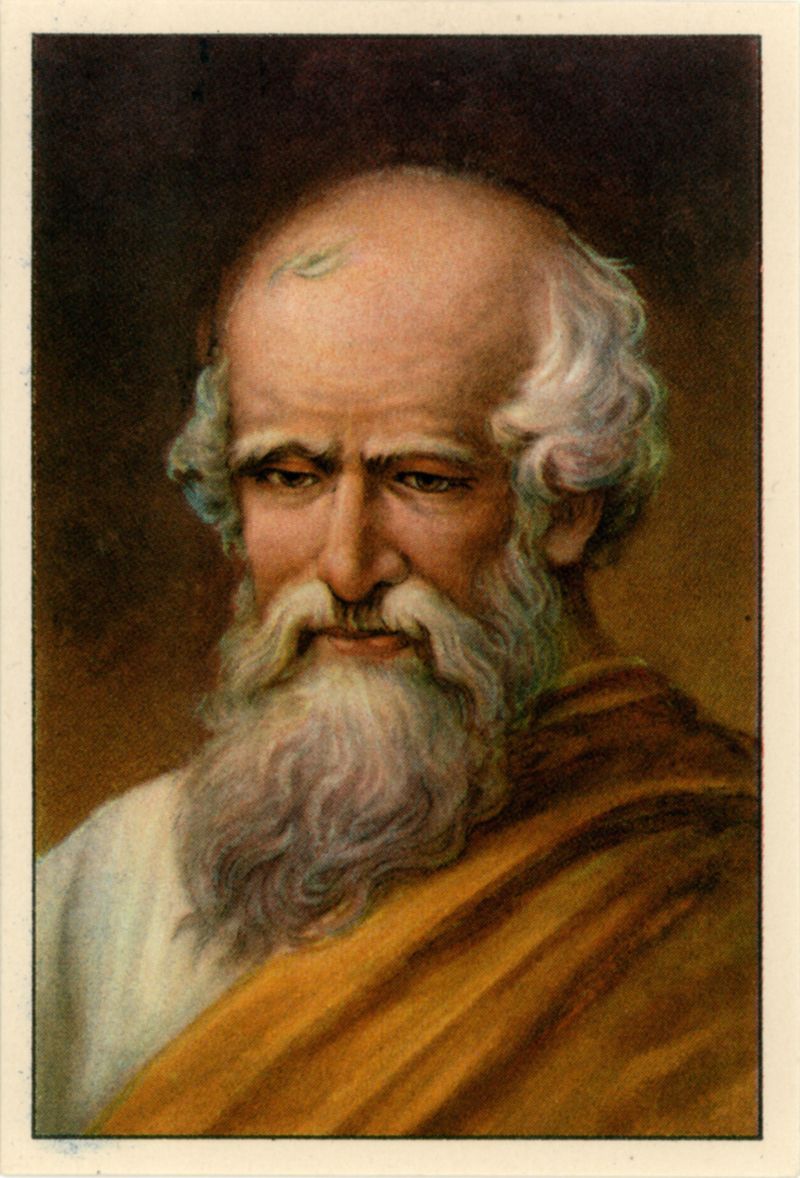
- Picture of Archimedes
- Pictures of some of his inventions (book)
- For each group of 2 kids: (For activity)
- 1 #13 Light bulb and 1 socket
- 1 D Battery and 1 battery holder
- 3 Clip leads
- 1 Switch
- 2 Science notebooks and 2 pencils
Environment:
- Start out in a whole class group gathered together around a table
- On the table: flashlight
- In teacher’s pocket: 3 Clip leads, 1 light bulb, 1 light bulb holder, 1 battery holder, 1 switch
Concepts:
- Electricity is invisible
- Circuits
- Sources
- Loads
What you will say
- Archimedes: He was one of the smartest guys of the ancient world.
- He was born in 287 BC in Sicily, an island off the coast of Italy
- Probably the greatest inventor of the ancient world
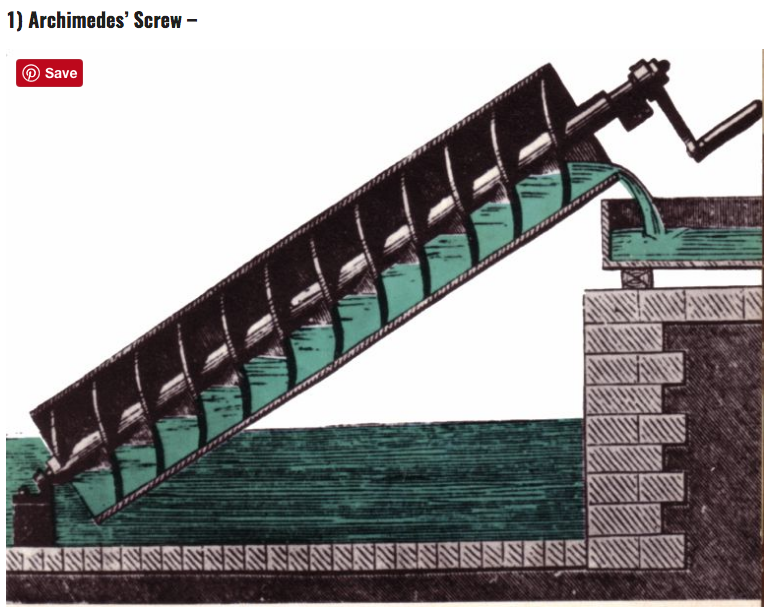
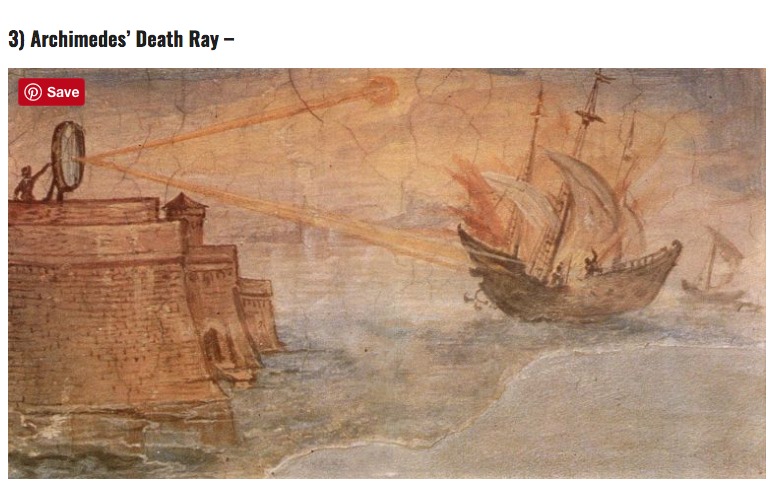
- Here are some of his inventions: (pictures printed)
- Archimedes’ Waterpump Screw
- Archimedes’ Claw
- Archimedes’ Death Ray
- He could understand Mechanical things:
- Bike
- Something with gears
- Holding flashlight: turn it on, I push this button and the light comes out, how does that work?
Let’s take it apart
- Take the flashlight apart and then we have a D cell, and a light bulb, lets make them work
- Doesn’t work, what do we need?
- We need something to conduct the electricity: conductor: use a clip lead
- Connect together: bulb lights up
- Do you think that Archimedes could understand this?
- What’s the difference between things that are mechanical where you can see all the parts and see how they work by taking them apart and things that don’t have any moving parts?
- The flashlight is different because there are no moving parts and Electricity is INVISIBLE, and electrons flow
- We are going to take a look at how this works.
- Take a lightbulb and the D cell and 2 clip leads: create the circuit to make the light bulb light up
- A person has to hold the battery and the clip lead together all the time to make this work. Can't somebody invent something that works better??
- Use battery holder: hook it up
- Turn the bulb on and off
- Your still holding the bulb: Can't somebody invent something?
- Bulb socket: hook it up
- Turn it on and of by disconnecting the clip lead
- There must be a better way to turn this on and off
- Wires: are Conductors
- What kind of things are Insulators?
- Switch: hook it up
We need to know more about the battery and the bulb
- How much electrical pressure (VOLTS) does the battery put out?
- Look closely at the battery and find the Voltage (1.5V)
- What if we use 2 Batteries? Do they add up? (2 x 1.5 = 3.0V)
- Connect 2 battery cases in "Series" and connect the circuit
- What happened? (bulb is much brighter)
- How much electrical pressure (VOLTS) does the battery put out?
- Sources vs. Loads. They need to match. More in the next lesson.
- We want you to do this stuff yourselves. Go back to your tables in your small groups
Activity: Make the Bulb light up
Students break into groups, preselected by the teacher
- Hand out the parts as listed above
- Battery and battery case: put the battery into the case
- Bulb and bulb socket: put the bulb in the socket
- Clip leads: 3 different colors. Why different?
- Take a look at the parts
- Assemble a circuit: Show that you can turn the bulb on and off: Put the switch in the circuit so it turns the bulb on and off
- Source and load
- Battery – source of electricity
- Bulb – load
- Draw a picture of what you have made in your science notebook
- Draw Symbols on the board for
- Battery
- Wires
- Switch
- Bulb
- Redraw your circuit using the symbols.
Lesson 2:
Materials needed for each group of 2 students:
- 6 Clip leads
- 2 #13 bulbs and 2 bulb sockets
- Voltmeter
- Handout showing basic electrical symbols
- Handout showing information on #13 bulb
- 2 Science Notebooks and 2 pencils
Environment / Materials:
- Start out in a whole class group gathered together around a table
- On the table: D battery, clip leads, switch, bulb and socket: connected in a circuit, another D battery and holder to add later and another bulb and socket
- Symbols handout to show them and hand out
- Paper and marker to draw example diagrams on
Concepts: Sources and Loads. It is important to Match them
- Multiple batteries. Voltage concept
- Instruments: Make invisible electricity visible with voltmeter
- Series and Parallel concept
- Current Concept
- Multiple loads
- Multiple switches
What you will say and do
- Review "circuit" What do we have here? How does this work?
- What are Sources and Loads?
- Source - Battery
- Load - Light bulb
- Add another battery in series with the 1st one
- How do you think this will change the amount of Voltage?
- Use the Voltmeter to measure the battery's voltage
- Add another bulb, in series and then in parallel
- Series - Batteries are end to end with + to -
- Series - Bulbs connected end to end
- Parallel - "side by side"
- How do you think this will change the bulb's brightness?
- Measure the voltage with the Voltmeter
- What is Voltage Drop?
- Sources provide a rise in voltage
- Loads drop voltage
- In a circuit, Voltage rise = Voltage drop
Activity: Sources and Loads
Students break into groups, preselected by the teacher. Hand out the parts as listed above and the Electrical Symbols Handout
- Students Connect the circuit the same as last lesson (battery, switch, bulb)
- Make a pictorial drawing of your circuit in your Science Notebook
- Next, Use the symbols on the Handout to make a schematic diagram of the circuit
- Series
- Add another battery in series with the 1st one. What do you expect the bulb to do?
- Parallel
- Connect another bulb in parallel with the 1st bulb. How bright are the bulbs now?
- Draw a diagram of the circuit you have now
- Series
- Reconnect the 2 bulbs in series
- How bright are the bulbs?
- Draw a diagram of the circuit you have now
- Next time we will try out different kinds of loads besides bulbs
Game to Practice and Learn about Circuits
The Blobz Guide to Electric Circuits
Lesson 3: Circuits and Switches
Materials needed for each group of 2 students:
- 2 D batteries and 2 battery holders
- 6 Clip leads
- 2 #13 bulbs and 2 bulb sockets
- Switches:
- Single pole single throw
- Single pole double throw (hand out later for problem they will solve)
- Handout showing basic electrical symbols
- Handout showing Series and Parallel **TBD***
- 2 Science Notebooks and 2 pencils
Environment:
- Start out in a whole class group gathered together around a table
- On the table: D battery, clip leads, single pole single throw switch, bulb and socket: connected in a circuit,
- another D battery and holder to add later and another bulb and socket
- Single pole double throw switch
- Misc. switches of different types and sizes to show
- Symbols handout to show them and hand out
- Paper and marker to draw example diagrams on
- Student parts are put on their tables before the activity
Concepts:
- Serial and Parallel Circuits
- Different types of Switches
- What you do
- Create circuits with batteries and bulbs in series and parallel
- You can use these same parts to make many different circuits
- Show one use of single pole double throw switch
- Show other types of switches
Activity
Students break into groups, preselected by the teacher. Hand out the parts as listed above and the Electrical Symbols Handout and the Handout showing Series and Parallel
- Connect the circuit the same as last lesson (battery, switch, bulb)
- Change the circuit to have 2 batteries in series
- Change the circuit to have 2 bulbs in parallel
- Remove the switch, Now just use the clip leads to make the lights light up bright and then dim.
Problem to solve
- You will have these electrical parts in your room at home
- Sometimes you want the lights to be off
- Sometimes you want the lights to be bright
- Sometimes you want the lights to be dim to go to sleep
- How would you do this with these parts and the single pole double throw switch?
- (Hand out Switch)
- Draw a circuit in your Science Notebook that you think will do this using the electrical symbols
- Now try making this circuit
Lesson 4: Electricity to Sound and Motion: A Circuit Problem
Materials needed for each group of 4 students:
- 1 bulb
- 1 bulb socket
- 2 D cells
- 2 D cell holders
- 6 Clip leads
- 2 single pole double throw switches
- Science notebooks and pencils
Environment:
Start out with students gathered around a table
With the students, set up a circuit using 2 D cells with D cell holders and 6 clip leads.
Demonstrate Electrical energy to sound and electrical energy to motion
- Sound: Connect 1 electronic buzzer into circuit with morse code key to show sending information with the buzzer: sound energy
- Motion: Disconnect the buzzer, then connect 1 small DC motor
What do we do with this stuff?
Students give their ideas.
Activity
Students break into groups of 4, preselected by the teacher. Hand out the parts as listed above and the Handout showing symbols for 2 D cells, bulb and 2 switches
Problem to solve:
You have 2 switches. One at the top of the stairs and one at the bottom of the stairs. Design a circuit which allows the light to be turned on and off from either the top or the bottom of the stairs.
Draw your solution into your Science Notebook.
Possible follow-up Activity
Extra Materials needed
- 1 Motor
- 1 Double pole double throw switch
- 1 Diagram handout
Problem
Design a circuit which can run the motor in forward or reverse or turn off.


